
How to Create a Kids’ Craft Corner at Home: 12 Organized Ideas
By four o’clock on a rainy afternoon, the glitter pens are on the sofa, the washi tape is somewhere under the dining table, and a half-finished paper dragon has no glue stick to call its own. Learning how to create a kids craft corner at home is less about buying more containers and more about choosing the right spot, the right height and the right amount of stuff. This guide helps you match a setup to your space, your child’s age, your budget and your tolerance for mess. Then it gives you twelve layouts to copy, from a window nook to a closet that closes on the chaos.
Before You Build: 5 Key Decisions for a Functional Craft Corner
1. Choose the Right Location
Choose a spot near where the family already spends time, such as the kitchen edge, the living room or a hallway you pass often. A far-off dark corner gets used for a week and then forgotten. Younger children also tend to craft best when a grown-up is within earshot.
2. Make Sure There’s Enough Light
Daylight from the side is easiest on the eyes. For evenings, add a lamp with a warm bulb positioned so the child’s hand doesn’t cast a shadow over the page.
3. Get the Table and Chair Height Right
Don’t rely on a fixed chart. Sit your child at the table: feet should rest flat, knees bend comfortably, and forearms should land near tabletop height without hunching or reaching up.
4. Protect the Floor
Decide what’s underneath before the first paint pot comes out. A washable mat, an old shower curtain or a wipeable rug turns a spill into a quick rinse.
5. Keep Everyday Supplies Within Reach
Whatever your child uses daily should sit where they can grab and return it alone. Scissors, paint and anything you want supervised can live higher.
12 Kids’ Craft Corner Ideas for Every Space
1. Create a Window-Side Craft Table
Fits: a spare wall, bay or the edge of a living room.
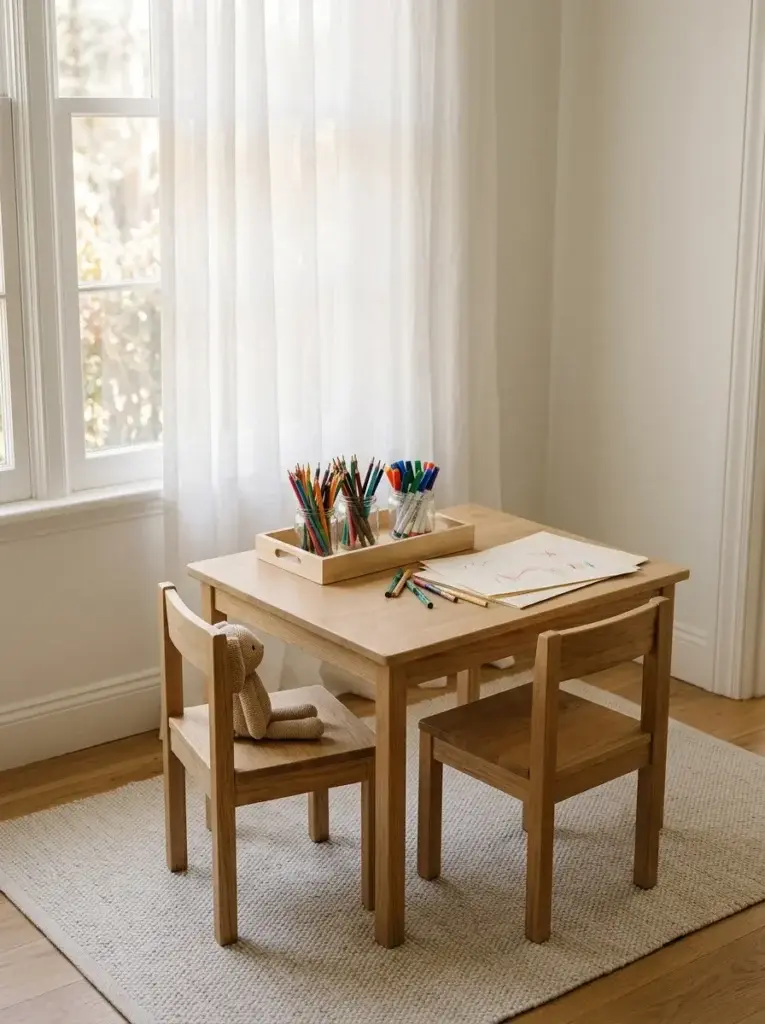
Solves: dim, squinty drawing sessions. Set a small kid-height table where daylight comes from the side, so the child’s hand doesn’t shadow the paper. A thrifted table, two chairs and a shallow tray holding one jar of pencils and one of markers is the whole build. Add a pale washable rug beneath.
Avoid: a spot with direct afternoon glare on the page. If that’s the only window, hang a sheer curtain to soften it.
2. Turn a Closet Into a Craft Station
Fits: a shallow hall, bedroom or playroom closet.
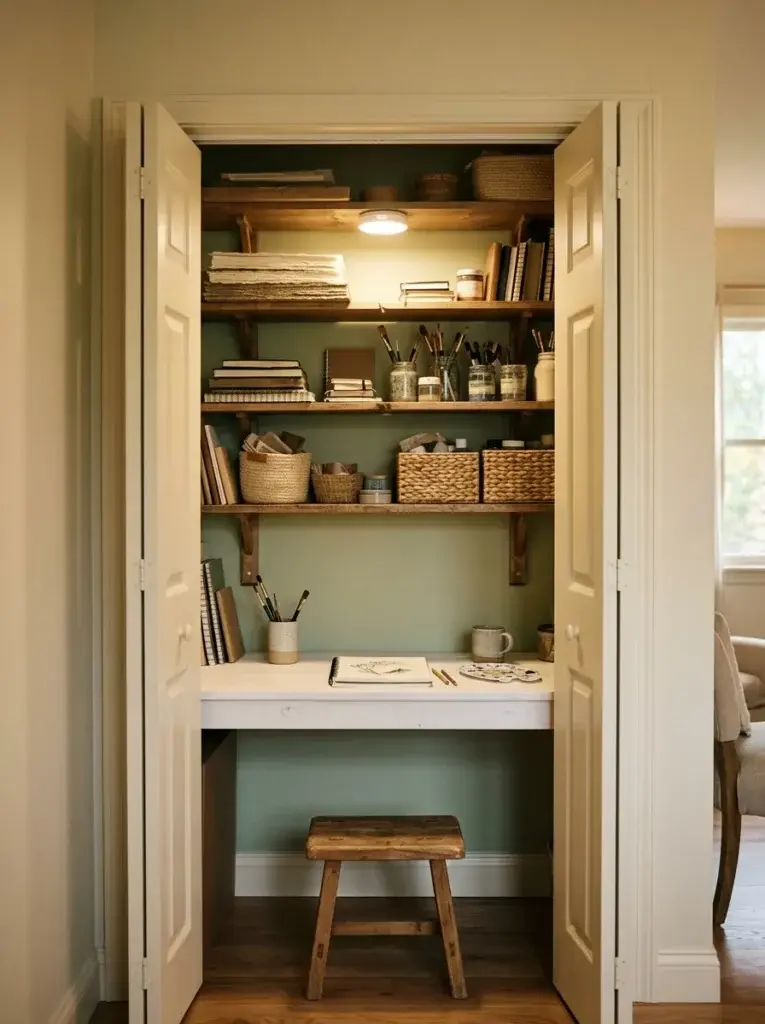
Solves: visual clutter, since the doors simply close. Remove the hanging rod, then set a low work surface (a cut-to-size board on sturdy shelf supports or a narrow desk) with shelves above for supplies. A battery-powered stick-on light handles the dark. Keep the top shelf for adult-only items.
Avoid: packing it floor to ceiling. If a child can’t see everything at a glance, the system fails within a week.
3. Use a Three-Tier Rolling Art Cart
Fits: shared rooms, apartments, family rooms.
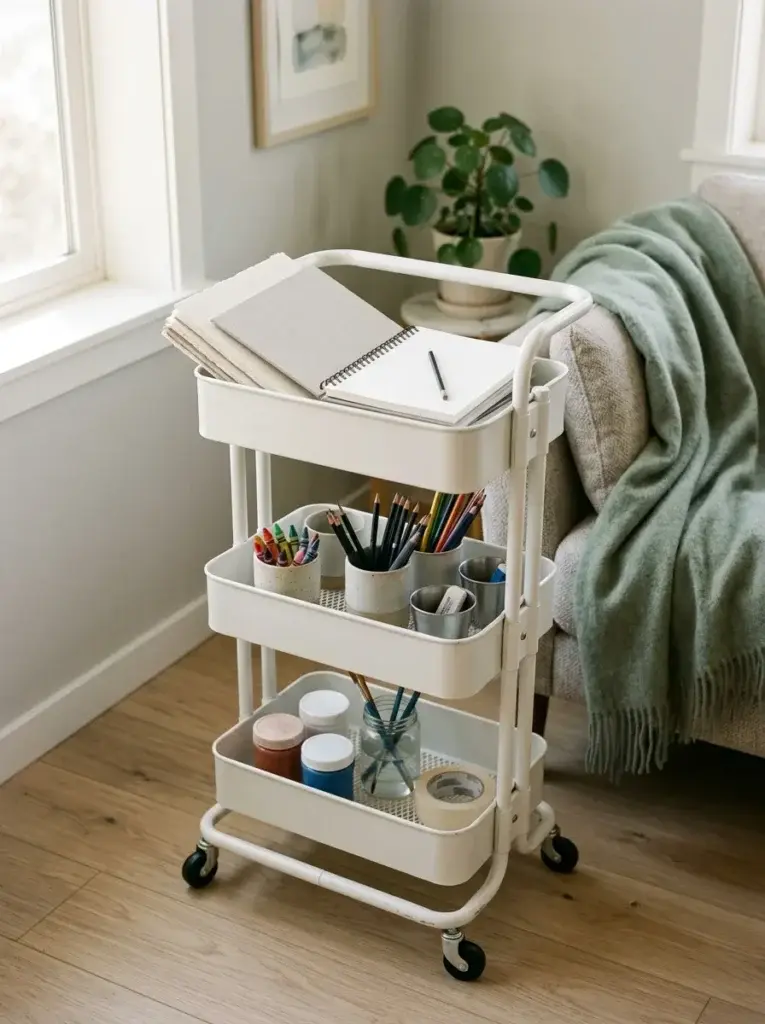
Solves: “where does this live between projects?” Dedicate each tier: paper and sketchbooks on top, drawing tools in the middle, messy paint and glue on the bottom where little hands can’t tip things. Park it against a wall, then roll it to the kitchen table when it’s time to work.
Avoid: overloading the cart so it becomes top-heavy. Fewer, well-chosen tools beat a crowded rack.
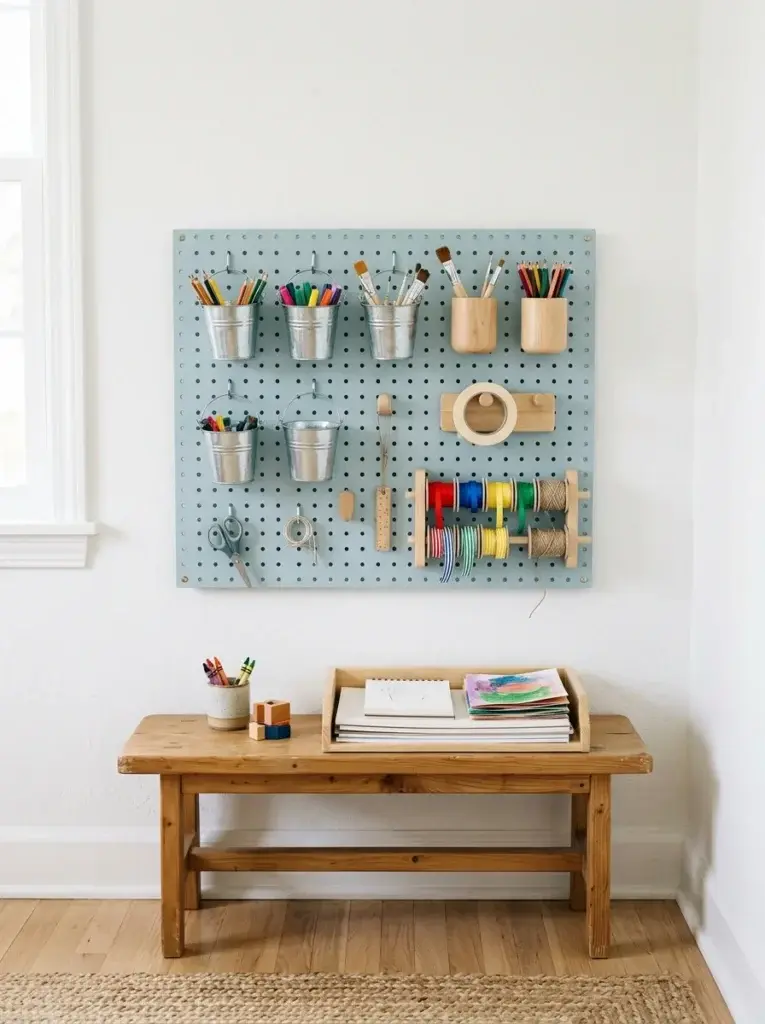
4. Organize Supplies on a Pegboard or Rail
Fits: any bare wall, including renters’ walls with the right hardware.
Solves: lost floor and table space. Hang small cups, scissors holders and tape on a pegboard, or use a rail with hooks and pails. Renters can use adhesive hanging strips rated for the weight, or a freestanding pegboard leaning on a console.
Avoid: hanging heavy pots above head height for small children, and ignoring the weight limits printed on adhesive products.
5. Add a Low Cube Shelf With Easy-Reach Bins
Fits: children about 4 and up, playrooms, bedrooms.
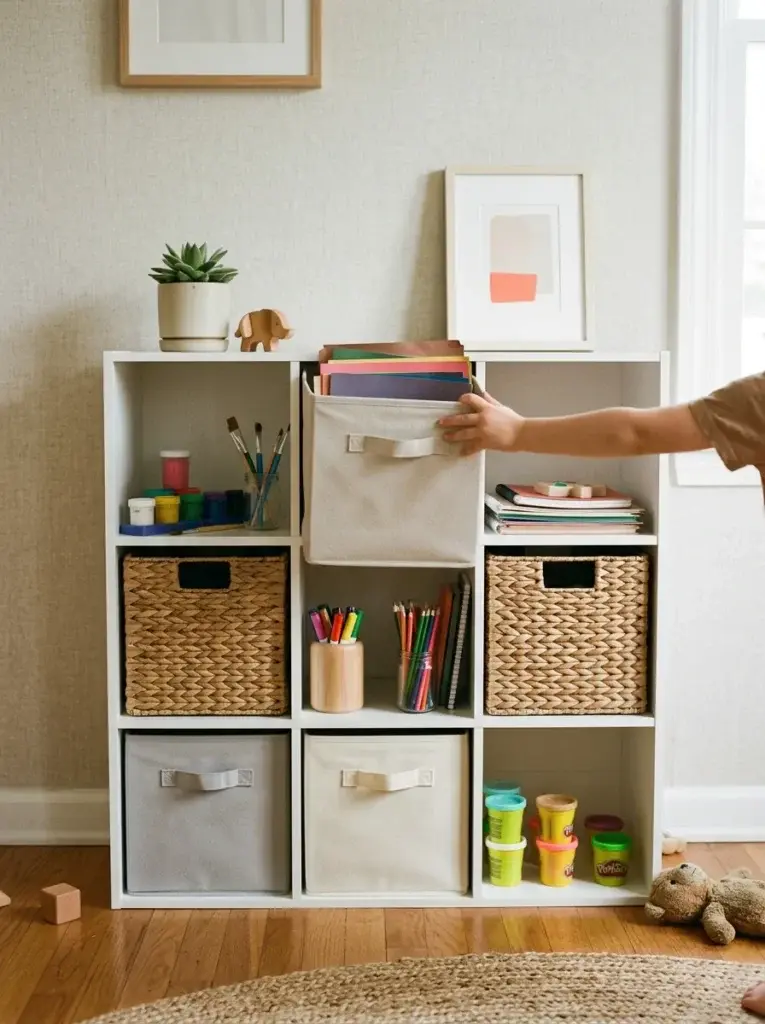
Solves: constant “can you get me the…?” requests. A low cube shelf with fabric or wicker bins puts everything within reach. Give each cube one job (paper, drawing, painting, stickers) and keep sharp or messy items in a higher cube. The shelf top becomes a display spot for work in progress.
Avoid: deep bins where things sink. Shallow baskets keep contents visible.
6. Hide Supplies in a Craft Cabinet or Console
Fits: open-plan homes where the craft zone must disappear.
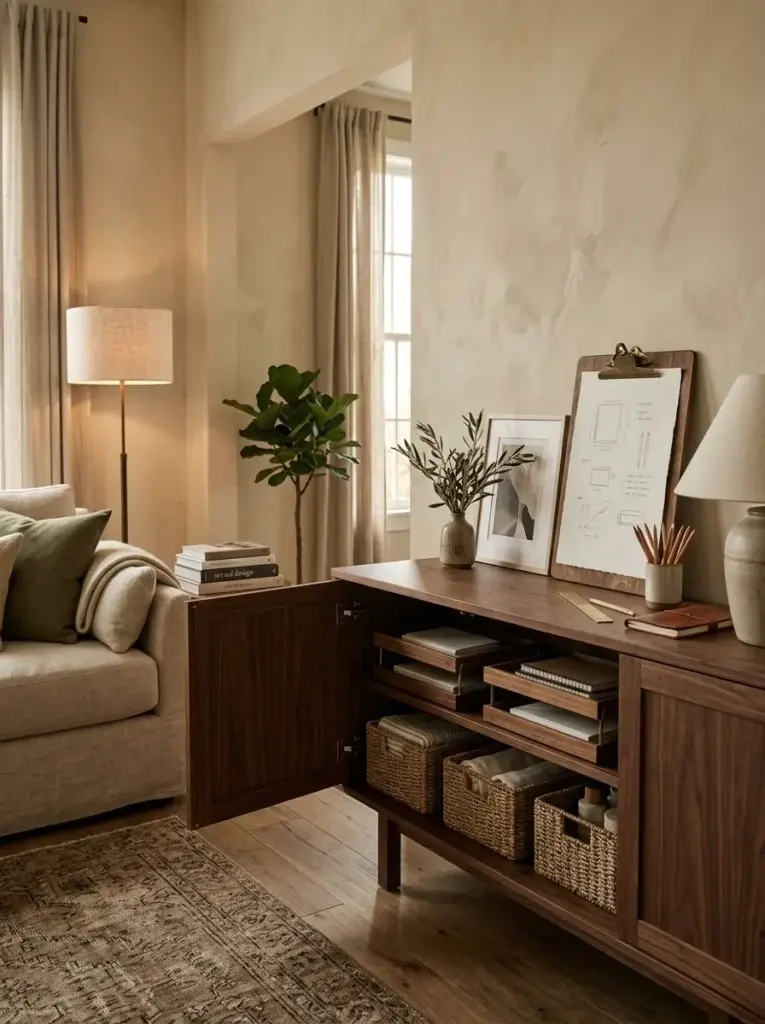
Solves: the “is the living room a studio now?” feeling. A closed console, sideboard or low cabinet stores supplies inside, and the top or a fold-down panel serves as the work surface. Use baskets and shallow trays inside so nothing slides to the back.
Avoid: hiding it so well that children never open it. Keep the daily-use bin at the front and the doors easy to pull.
7. Set Up an Easel and Paper-Roll Station
Fits: playrooms, kitchen walls, hallways.
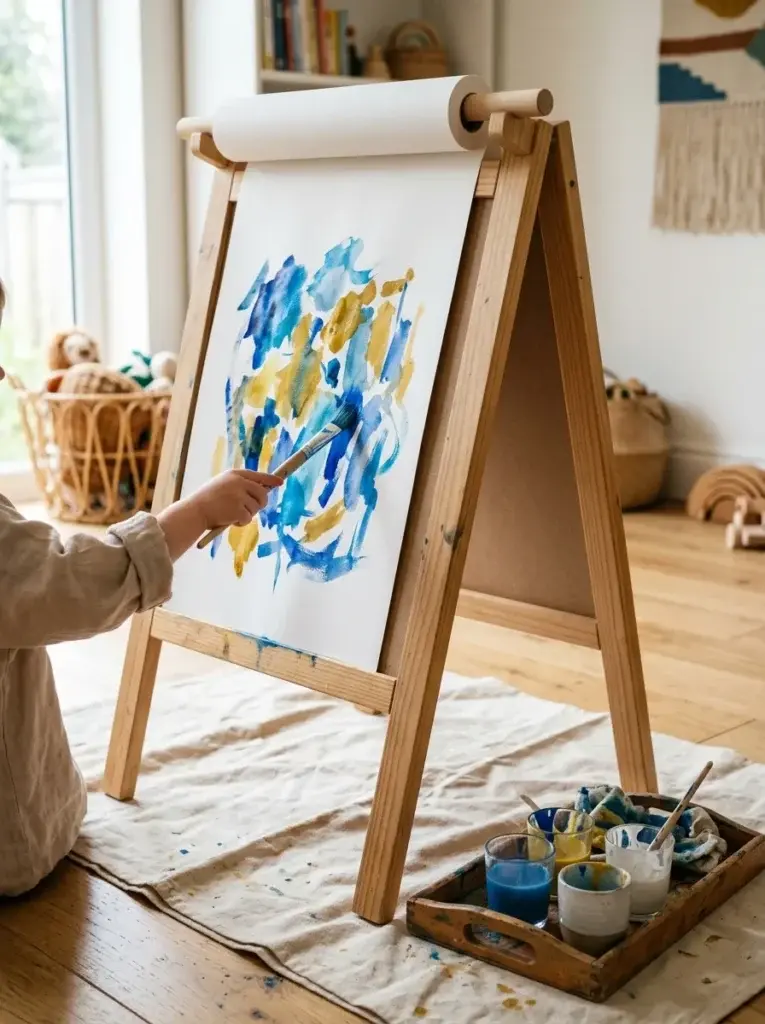
Solves: the need to move the whole arm, which small tabletop paper doesn’t allow. Mount a roll of paper on a wooden dowel or a paper-roll holder beside an easel, so children can pull and tear off sheets. Clip the paper at the edges to keep it flat. Put a washable mat under the easel.
Avoid: leaving paint trays at the very edge where sleeves can knock them. Use a tray with a lip.
8. Use Picture Labels to Organize Supplies
Fits: any storage, especially for ages 3–6.
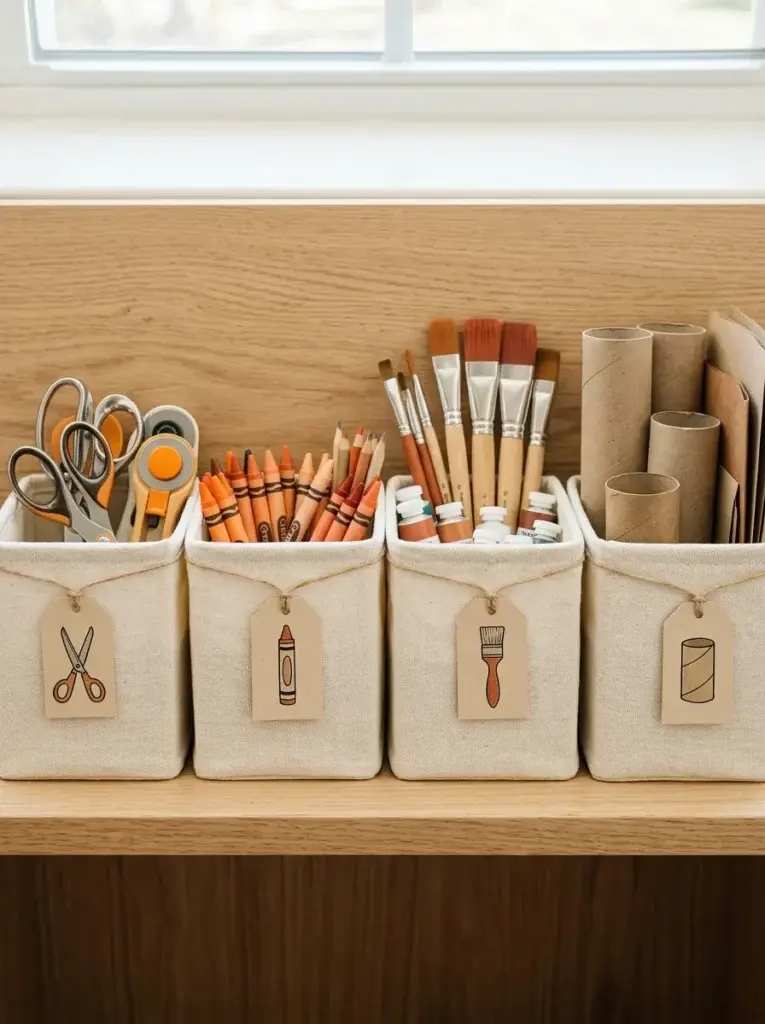
Solves: children who can’t read labels and dump everything to find one crayon. Sort supplies into four zones: cutting and gluing, drawing, painting, and recycled bits. Mark each bin with a simple icon, such as scissors, a crayon, a brush or a box. Tape the same icon to the shelf edge so cleanup becomes matching.
Avoid: more than four or five zones. Keep it simple enough for a four-year-old to remember.
9. Create a Mess-Control Zone With a Washable Mat
Fits: any craft area, especially above carpet.
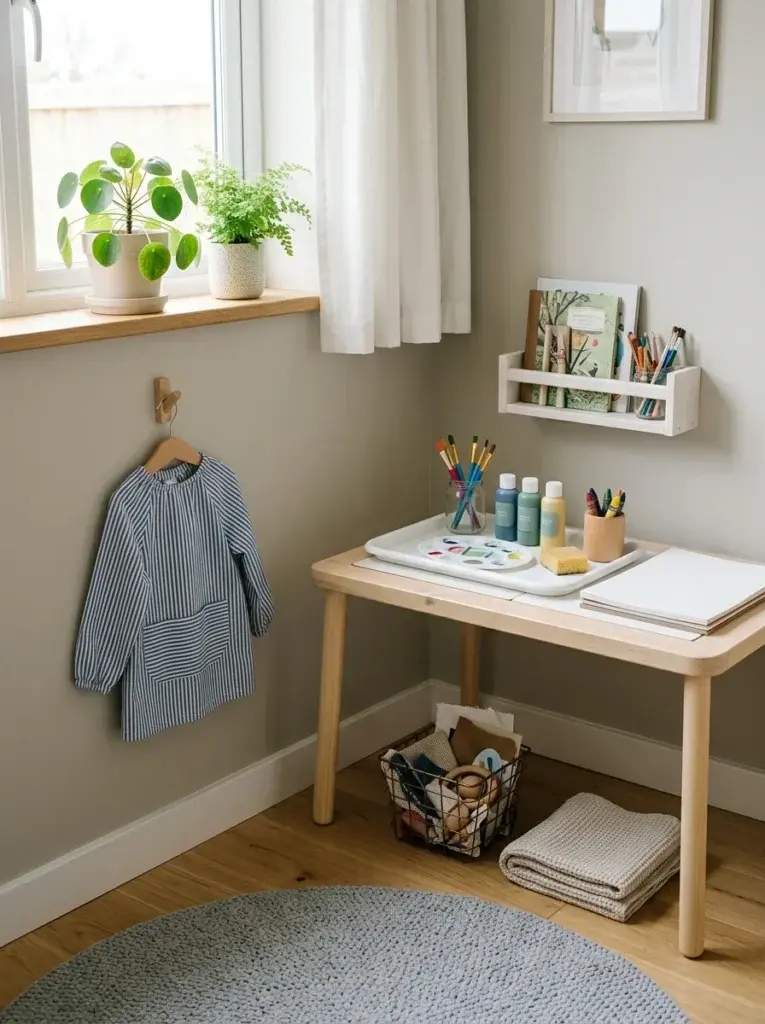
Solves: the dread of paint and glue near furniture. Lay down a washable mat or old shower curtain, hang a smock (or old shirt) on a low hook, and keep a wipe-down tray for wet projects, plus a small bin for scraps and a damp cloth nearby.
Avoid: assuming cleaning tools can wait. If the wipes are in another room, the cleanup won’t happen.
10. Add a Drying Rack and Art Display Line
Fits: hallways, bedroom walls, playroom corners.
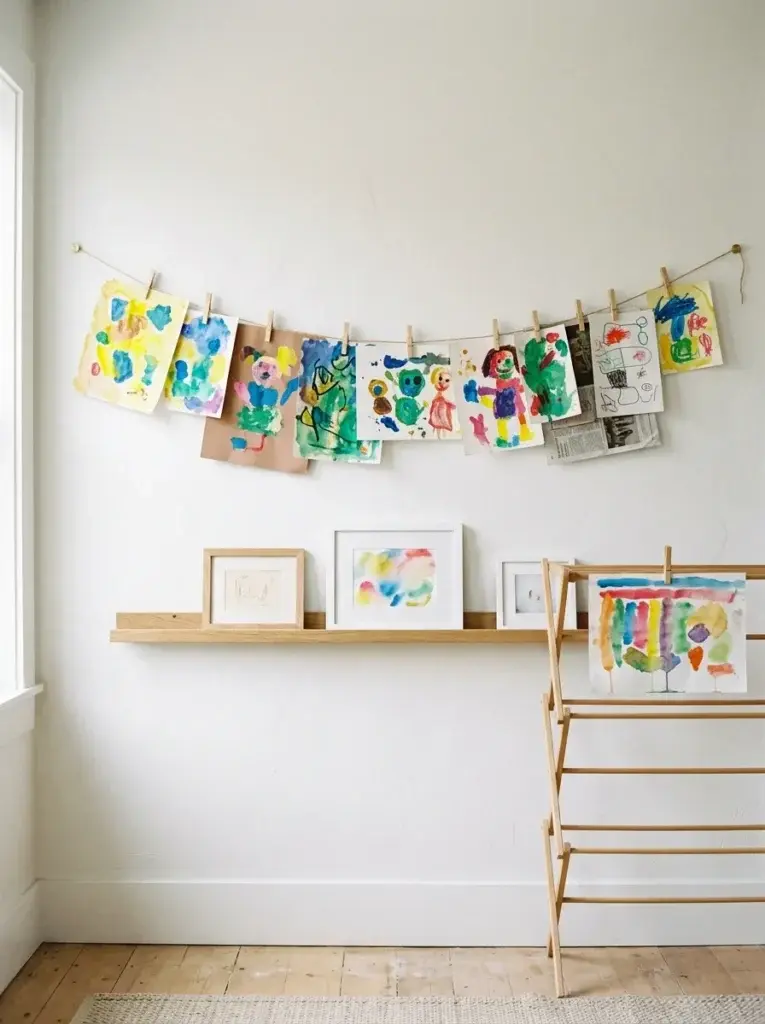
Solves: wet paintings with nowhere to go, and finished art piling up. Use a folding drying rack or a clothesline with clips for wet pieces, then a magnetic strip or clip line for finished work. Choose a few favorites to frame or keep in a portfolio box each season, and photograph the rest before recycling.
Avoid: leaving every piece up forever. A small, rotating display feels intentional.
11. Make Use of an Under-Stairs or Alcove Nook
Fits: awkward spaces beneath stairs, deep wall recesses or beside a chimney breast.
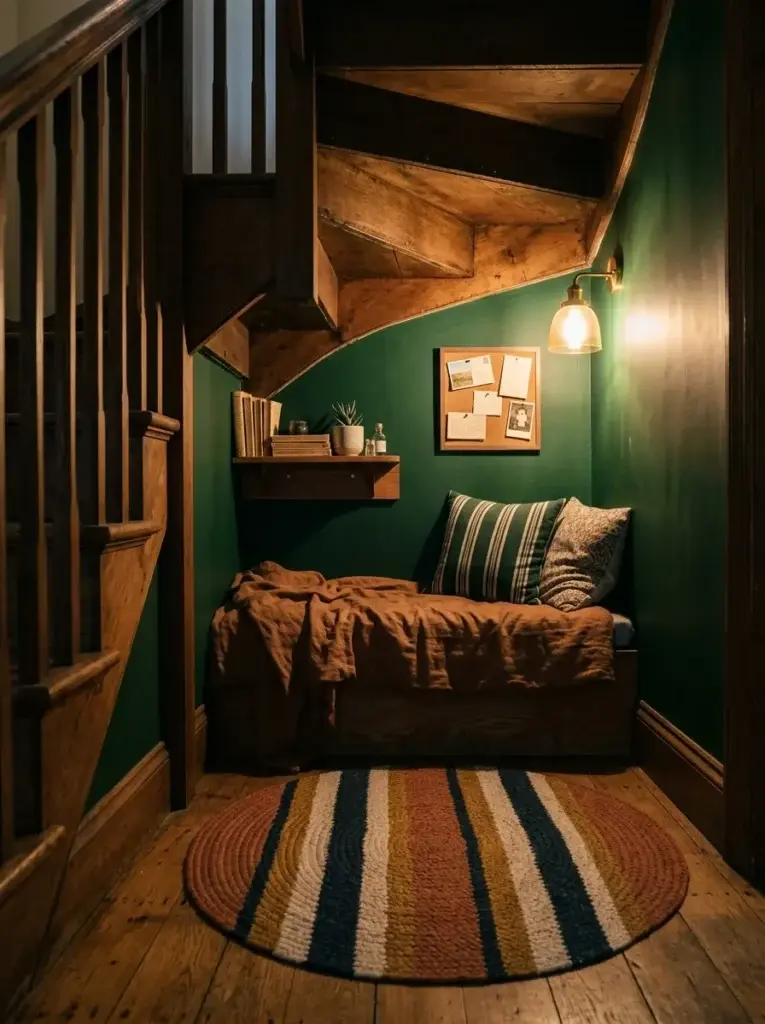
Solves: dead space in a small home. Fit a shelf to the alcove, add a bench or floor cushions, and pin a cork or fabric board inside. Light it with a plug-in or battery lamp. Cover the floor with a washable rug.
Avoid: low ceilings where an older child can’t sit comfortably. Check by crouching down inside it first.
12. Rotate Craft Trays by Theme or Season
Fits: any home with too many supplies.
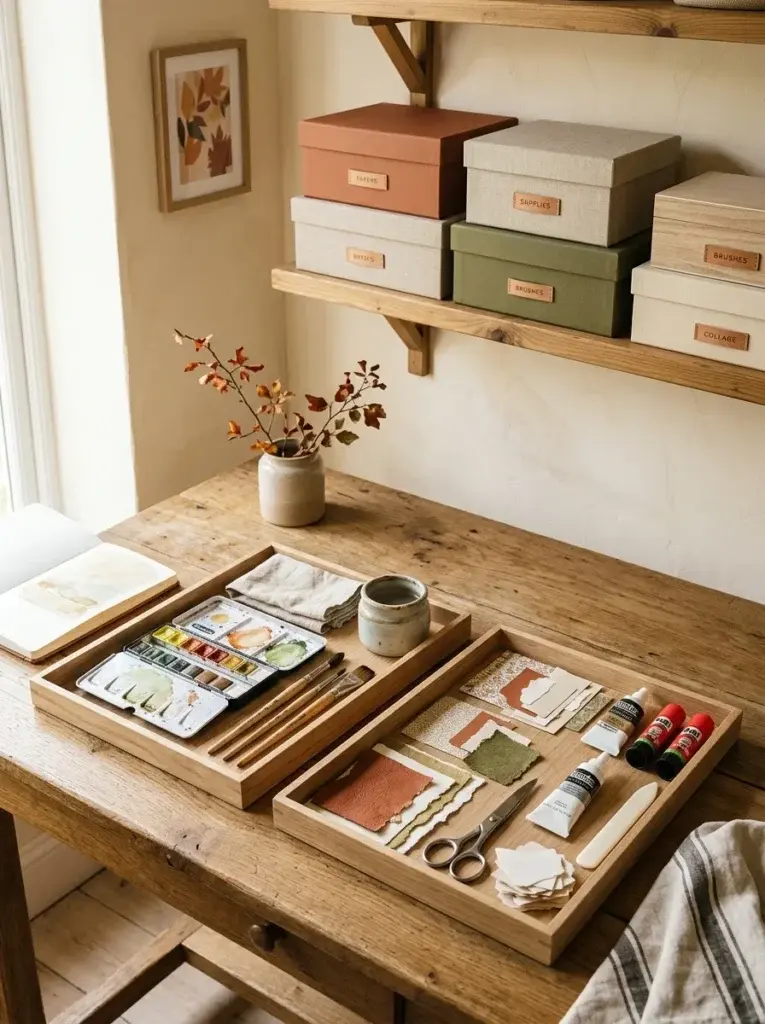
Solves: overwhelm and boredom. Keep a small number of trays or boxes, each holding a themed set, such as watercolor, collage or clay. Put one or two out at a time, and swap them weekly or when interest fades. Store the rest out of sight, and add seasonal trays for autumn leaves or winter cards.
Avoid: dumping the full stash back out at once. Less out makes each tray feel new.
What to Stock for Each Age Group
Toddlers (Ages 2–3)
Chunky crayons, washable markers, large sheets of paper, finger paint and play dough. Supervise closely, and keep anything small enough to swallow, such as beads, googly eyes or pom-poms, out of reach.
Preschoolers and Early Primary Kids (Ages 4–6)
Child-safe scissors, glue sticks, stickers, watercolors, craft sticks and masking tape. Let them reach their own supplies, with an adult nearby for scissors and wet projects.
Older Kids (Ages 7–10)
Colored pencils, sketchbooks, felt and needle-free sewing kits, air-dry clay and fine-tip markers. Keep hot tools and sharp cutters adult-assisted.
For every age, check packaging for non-toxic and age-appropriate labeling, and follow the manufacturer’s guidance.
Budget-Friendly and Renter-Friendly Craft Corner Ideas
Repurposed containers do most of the work: clean jars, tins, muffin trays and cutlery organizers all hold pencils and paint. A thrifted small table or a sturdy bench is often the best value. For renters, no-drill options include adhesive hanging strips (check weight limits), over-the-door organizers, freestanding pegboards and rolling carts.
Worth buying new: washable mats or drop cloths, non-toxic age-appropriate supplies, and a sturdy lamp. Worth improvising: bins, display lines and labels.
Common Mistakes That Make a Craft Corner Hard to Maintain
- Too many supplies out at once. Overflow makes it hard to start and harder to finish.
- No clear homes. If a marker has nowhere to go, it goes everywhere.
- The wrong location. A dark or isolated corner often becomes storage for something else.
- Storage the child can’t reach. Independence needs shelves at their height.
- No cleanup tools nearby. Keep a cloth, a mini broom and a bin within reach.
- Ignoring seating. If feet dangle or elbows reach up, kids wriggle off.
A 5-Minute Cleanup Routine Kids Can Follow
- Pause and look. Name what’s out together.
- Trash and scraps first. Paper bits go into the scrap bin.
- Return tools to their zone. Match each item to its icon or bin.
- Wipe the surface. Little ones can wipe with a damp cloth under supervision.
- Display or dry. Put today’s piece on the line or rack.
For toddlers, make it a song or a matching game. Older kids can take on one zone each and set a timer.
Frequently Asked Questions
What If I Don’t Have a Spare Room?
A rolling cart, hide-away console or closet setup works in shared spaces and moves out of the way when you need the room back.
How Can I Keep My Child Interested in the Craft Area?
Rotate supplies and trays regularly, and display finished work where they can see it.
How Many Supplies Should I Keep Out at Once?
A small selection is plenty. One or two trays, one drawing kit and paper is a good starting point, with the rest stored away.
How Should I Store Wet or Unfinished Projects?
Use a drying rack, a high shelf with a tray, or a labeled box for unfinished work so it doesn’t get lost.
Conclusion
You don’t need a dedicated room or a full weekend to make this work. Pick one idea that fits your space today: a cart if you share a room, a window nook if you have the light, or a closet if you want doors to close on everything. Start small, add one labeled bin and one wipe-down surface, and let your child tell you what works. When you’re ready to plan your own, save this guide to your Pinterest board so it’s easy to find on the next rainy afternoon.