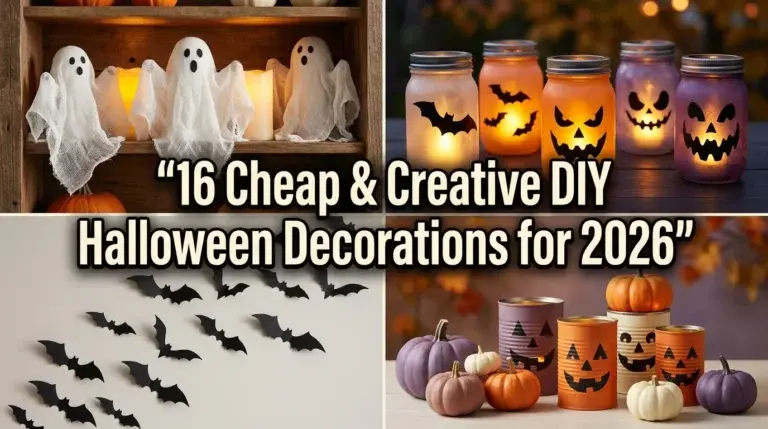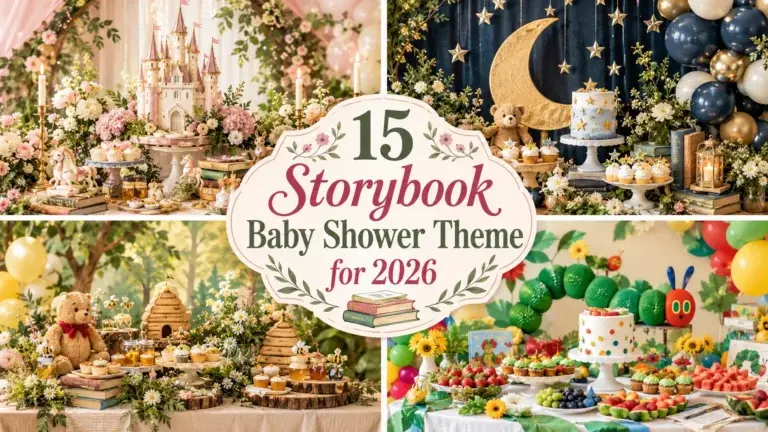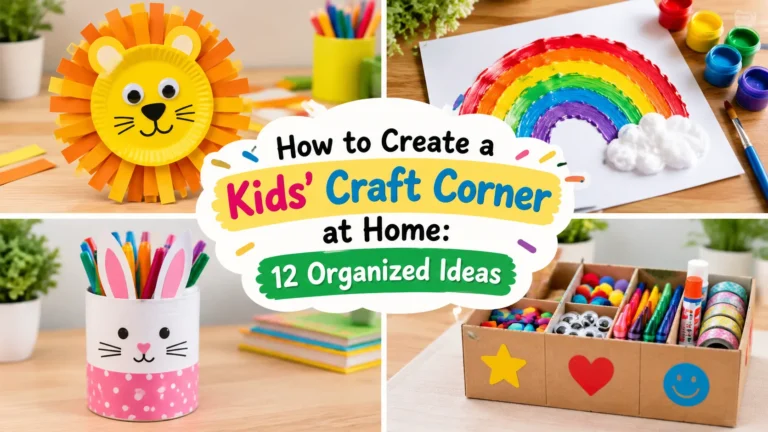
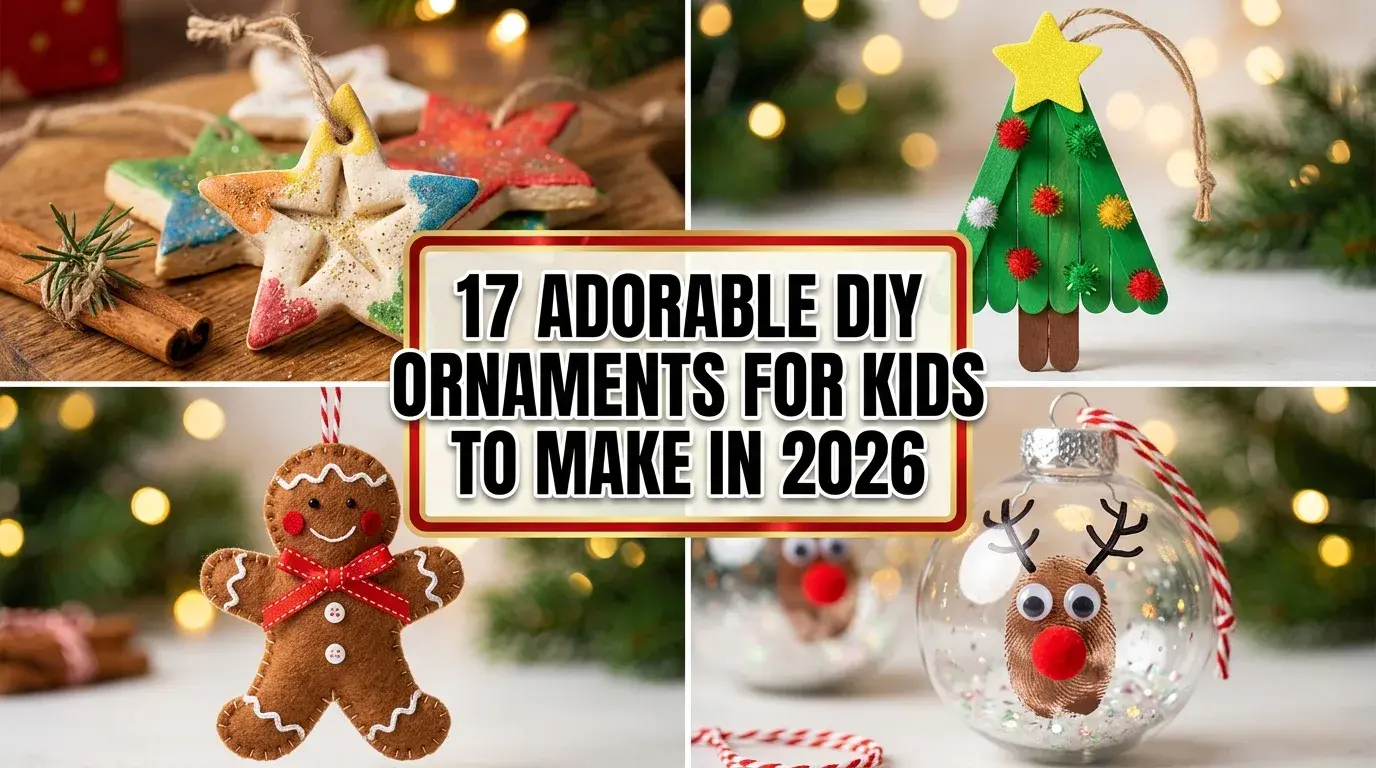
17 best DIY Ornaments for Kids to Make in 2026
Making Christmas decorations together is a wonderful way to turn an ordinary afternoon into a memorable family tradition. These DIY Ornaments for Kids combine simple materials, playful designs, and plenty of room for creativity, helping little crafters make decorations that feel personal, colorful, and special enough to treasure for years.
Whether you’re planning a classroom activity, a cozy weekend craft session, or an inexpensive holiday project at home, there’s something here for every budding artist. From cheerful paper creations to keepsake ornaments made with fingerprints, these easy Christmas crafts for kids encourage imagination while adding handmade charm to your Christmas tree.
1. Popsicle Stick Christmas Tree Ornaments

Popsicle stick Christmas trees are cheerful homemade decorations that let children experiment with color, patterns, and simple shapes. A few wooden craft sticks become miniature evergreens when painted green and embellished with colorful decorations. Each finished tree can look different, making this project especially appealing for siblings, classrooms, or family craft afternoons.
Arrange three craft sticks into a triangle and secure them with child-safe craft glue, with an adult helping whenever necessary. Once dry, children can add paper ornaments, pom-poms, or lightweight stickers. Attach a twine loop to the back for hanging, and let older children personalize their trees with initials or the current year.
Pro Tip: Use washable paint and lightweight decorations so the finished tree stays easy to hang.
2. Salt Dough Star Ornaments

Salt dough stars offer a timeless way to create keepsake Christmas decorations from inexpensive household ingredients. Their simple shapes are easy for children to recognize and decorate, while the slightly rustic finish gives each ornament a handmade charm. Kids can choose their favorite colors, press patterns into the dough, or paint little winter scenes.
Combine flour, salt, and water into a firm dough, then roll it out and cut stars using cookie cutters. An adult should handle oven baking and supervise any sharp tools. Make a small hanging hole before baking, allow each star to cool completely, and finish with paint and a protective clear sealant.
Pro Tip: Make the hanging hole slightly larger than needed because dough can shrink during drying.
3. Paper Snowflake Ornaments
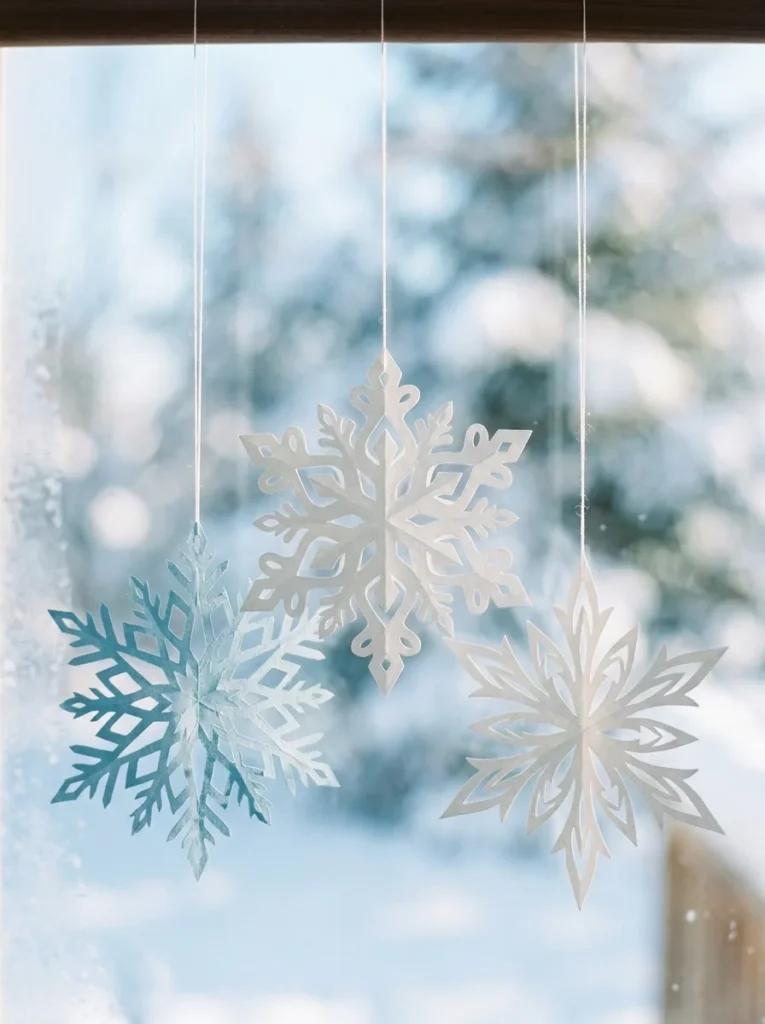
Paper snowflakes bring a little winter magic to the Christmas tree without requiring expensive craft supplies. Their intricate-looking patterns make them exciting to unfold, and every design reveals a different arrangement of shapes. Children can explore symmetry, practice careful folding, and create matching decorations for windows, bedrooms, or classroom displays.
Fold lightweight paper into halves or quarters, then let older children cut small shapes along the edges using child-safe scissors. Unfold the paper carefully to reveal the snowflake, smoothing it beneath a heavy book if necessary. Younger children can decorate pre-cut snowflakes with crayons or stickers, while adults help attach hanging thread.
Pro Tip: Use slightly thicker paper for snowflakes that need to retain their shape throughout the holiday season.
4. Felt Gingerbread Man Ornaments

Felt gingerbread ornaments bring the familiar charm of Christmas cookies to a decoration that can be saved year after year. Their soft fabric bodies, cheerful expressions, and colorful details make them especially appealing to children who enjoy creating characters. Unlike edible cookies, these little gingerbread figures can become permanent additions to a family’s holiday decorations.
Cut two matching gingerbread shapes from brown felt, using a paper template for consistent outlines. Adults can stitch the pieces together, while children decorate the front with felt icing, fabric scraps, or embroidery made with supervision. For younger crafters, attach the decorations using washable fabric glue and choose a ribbon loop for hanging.
Pro Tip: Use contrasting white felt for the icing so the gingerbread details remain visible from across the room.
5. Pinecone Christmas Tree Ornaments

Pinecones make wonderfully textured decorations because their natural overlapping scales resemble miniature evergreen branches. Children can transform a simple nature find into a festive ornament with paint and small decorative accents. This project also offers an opportunity to collect natural materials together and discuss how trees change throughout the seasons.
Choose clean, dry pinecones and check them carefully for insects or loose debris before crafting. Children can paint the scales using small brushes, then add lightweight pom-poms with child-safe glue. An adult should attach the hanging loop securely. Collect pinecones from permitted areas, or purchase craft-ready ones if suitable natural materials are unavailable.
Pro Tip: Let painted pinecones dry fully before decorating between their scales to prevent colors from smearing.
6. Fingerprint Reindeer Bauble Ornaments

Fingerprint reindeer baubles turn tiny fingerprints into playful Christmas characters, making them especially meaningful keepsakes for families with young children. The simple design combines a child’s natural handprint with a few painted details, producing a decoration that feels personal rather than perfectly manufactured. Different-sized fingerprints can represent siblings or several members of a family.
Use a shatter-resistant plastic bauble and apply a small amount of washable, non-toxic brown paint to a fingertip. Press gently onto the surface and let the print dry before adding antlers, eyes, and red noses with a fine brush. Adults should supervise paint use and help secure the ornament cap so the finished bauble hangs safely.
Pro Tip: Practice the fingerprint design on scrap paper first to find the right amount of paint.
7. Yarn-Wrapped Star Ornaments

Yarn-wrapped stars combine simple geometric shapes with the cozy texture of knitted winter accessories. Children can experiment with different yarn colors while learning how overlapping strands create patterns and cover a surface. These decorations look lovely on a traditional tree and can also be used as handmade gift toppers or festive bedroom decorations.
Cut star shapes from sturdy cardboard before the activity begins, then attach a yarn end with child-safe glue. Children can wrap the yarn around each point and across the center until the cardboard is covered. Adults can help secure loose ends and attach hanging loops, while younger kids work with thicker yarn that is easier to handle.
Pro Tip: Choose medium-weight yarn and pre-cut cardboard stars to make wrapping easier for younger children.
8. Paper Plate Santa Face Ornaments
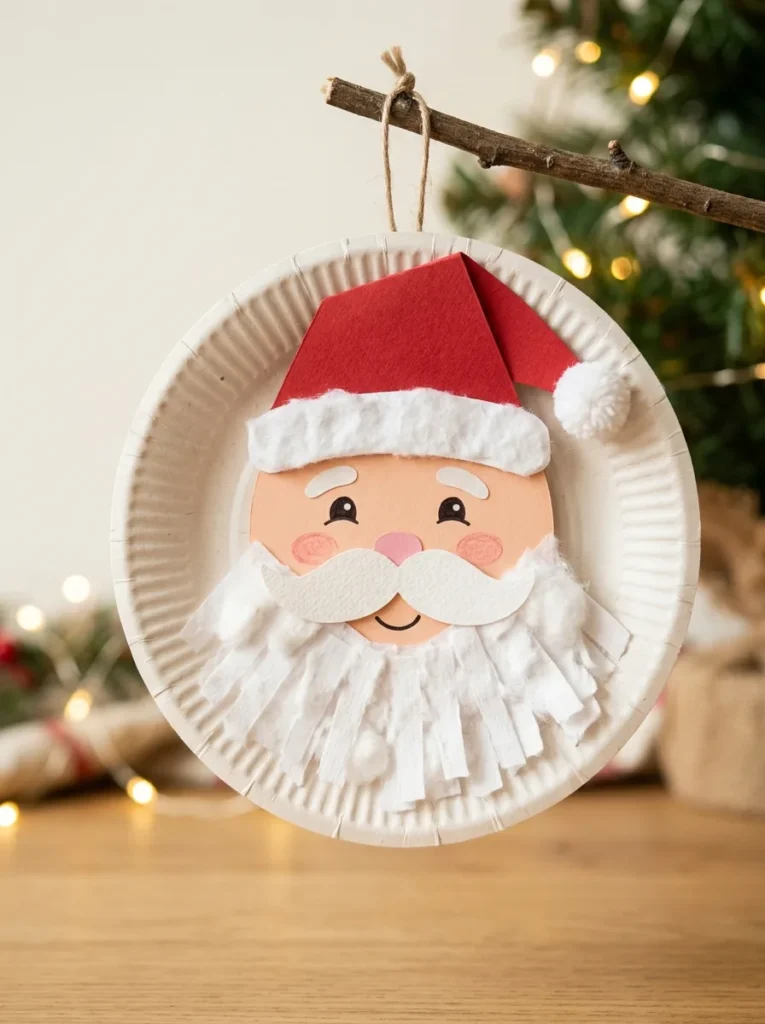
Santa face ornaments are a playful way for children to turn an everyday paper plate into a familiar Christmas character. The large circular shape provides plenty of room for coloring, cutting, and layering, while the beard and hat encourage creative use of different textures. Every Santa can have a unique expression, making the project fun for groups.
Trim a small paper plate into a manageable circle and let children color the face with washable markers or paint. Add a beard using torn white paper or cotton-free paper fringe, then attach a red paper hat. Adults should assist with cutting and glue placement, especially for preschoolers who need simpler, pre-cut pieces.
Pro Tip: Use torn paper strips for the beard to create a soft, layered texture without complicated cutting.
9. Button Wreath Ornaments
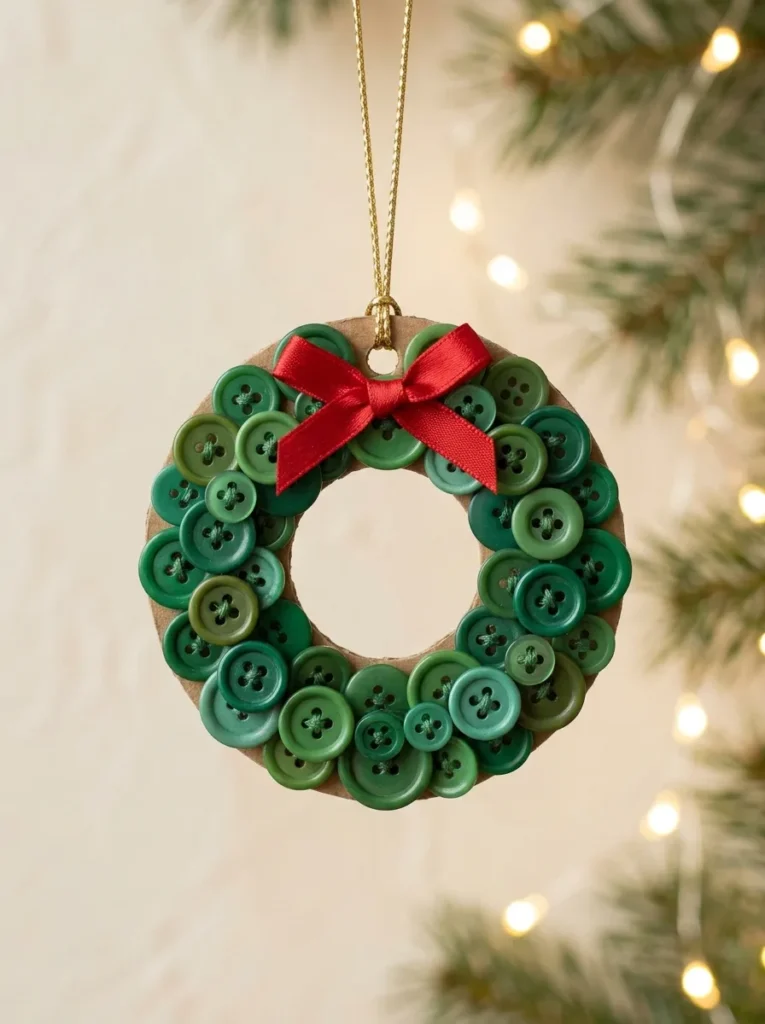
Button wreaths are miniature versions of a traditional holiday decoration, with layered green buttons creating a playful evergreen effect. Children can explore shades, sizes, and arrangements while developing patience and creative decision-making. The finished wreath looks especially sweet hanging on a small tree or attached to a handmade Christmas gift.
Cut a small cardboard ring and let children arrange green buttons around it before attaching them with adult-approved craft glue. Add a red ribbon bow and a hanging loop after the buttons are secure. Because buttons can pose a choking hazard, this activity is best for older children, with close supervision and larger embellishments for younger participants.
Pro Tip: Arrange the buttons before gluing to balance the colors and cover gaps in the cardboard base.
10. Cinnamon Stick Christmas Tree Ornaments

Cinnamon stick trees offer a natural, woodland-inspired alternative to brightly painted Christmas decorations. Their warm brown color and textured bark create a cozy appearance, while green felt details and a small star make the design unmistakably festive. Children can enjoy arranging natural materials into a simple tree shape that complements rustic holiday decor.
Arrange three cinnamon sticks in a triangle and secure the ends with adult assistance using suitable craft glue. Once the structure is stable, children can attach felt leaves, small fabric berries, or paper decorations. Adults should handle hot glue if needed and check that the finished ornament is securely assembled before adding a hanging loop.
Pro Tip: Use lightweight embellishments to prevent the cinnamon sticks from shifting or pulling apart.
11. Popsicle Stick Reindeer Ornaments

Popsicle stick reindeer are easy Christmas crafts for kids who enjoy making friendly animal characters. Their triangular wooden faces provide a simple base for expressive eyes, colorful noses, and playful antlers. Children can make classic Rudolph designs or invent their own reindeer with different colors, expressions, and decorative accessories.
Glue three craft sticks into a triangular frame and allow the structure to dry before painting. Children can add the eyes and nose with child-safe glue, while an adult attaches felt antlers and the hanging loop. For younger children, use larger facial pieces and avoid tiny accessories that could become choking hazards.
Pro Tip: Let the paint dry completely before adding facial features to keep the reindeer neat and smudge-free.
12. Colorful Paper Bauble Ornaments

Paper baubles create a lightweight, colorful alternative to traditional Christmas tree decorations. Their curved strips form an attractive three-dimensional shape that looks impressive without requiring costly supplies. Children can choose contrasting colors, arrange repeating patterns, and discover how flat pieces of paper become a decorative sphere when assembled carefully.
Cut equal-length cardstock strips and punch a small hole near each end before crafting begins. An adult can help secure the strips with paper fasteners or thread, arranging them evenly into a rounded shape. Children can select the colors and patterns, while younger participants can decorate preassembled baubles with stickers or washable markers.
Pro Tip: Keep the paper strips equal in length and width so the finished ornament looks balanced.
13. Handprint Angel Ornaments

Handprint angels are meaningful Christmas keepsakes because the wings preserve the shape of a child’s hand at a particular age. Their gentle colors and simple silhouette make them suitable for traditional holiday decorations, classroom displays, or thoughtful gifts for relatives. Children can personalize each angel with their favorite colors and small decorative details.
Trace both hands onto cardstock and cut out the shapes to create the wings. Attach them to a simple paper body, then add a round face, yarn hair, and a halo. Adults should assist with scissors and secure the hanging ribbon. Write the child’s name and year on the back after everything has dried.
Pro Tip: Record the child’s age and the year on the reverse to make the ornament a lasting keepsake.
14. Pom-Pom Christmas Tree Ornaments

Pom-pom trees are cheerful decorations that give children the chance to work with soft textures and bright colors. The fluffy surface makes the finished ornament look playful and dimensional, while the simple triangular base keeps the project manageable for different ages. Every child can create a different arrangement of colorful decorations.
Prepare a lightweight triangular base from felt or sturdy cardboard, then let children attach green pom-poms with suitable craft glue. Once the base is covered, add a few smaller colorful pom-poms and a paper star. Adults should supervise the use of small components and choose larger pom-poms for children who may still put craft materials in their mouths.
Pro Tip: Use a limited color palette to make the tiny decorations stand out against the green base.
15. Photo Frame Christmas Ornaments

Photo frame ornaments combine creative decorating with family memories, making them especially meaningful gifts for grandparents and relatives. Children can transform simple wooden sticks into a miniature frame, choosing colors and embellishments that reflect their personalities. Adding a favorite family photograph gives the finished decoration a personal quality that store-bought ornaments cannot quite reproduce.
Arrange four craft sticks into a square and let an adult secure the corners with craft glue. Decorate the frame with paint, stickers, or lightweight paper shapes, then attach a small photograph to the back. Add a ribbon hanger once the glue has dried. Choose a lightweight photo print and avoid glass so the ornament remains suitable for a Christmas tree.
Pro Tip: Use a small copy of a photograph rather than cutting an original family picture.
16. Paper Straw Star Ornaments

Paper straw stars offer a fun way to explore shapes and patterns while creating lightweight Christmas decorations. Their straight lines and repeated sections give the finished star a modern, cheerful appearance. Children can experiment with color combinations, make matching sets, or use the same technique to decorate classroom displays and handmade holiday cards.
Cut paper straws into equal sections before starting, and arrange them into a five-pointed star on a flat surface. An adult can secure the joints with suitable glue or thread, while children select colors and help position the pieces. Once dry, add a hanging loop and check the star’s balance before displaying it on the tree.
Pro Tip: Pre-cut all straw pieces to equal lengths for a more symmetrical star.
17. Salt Dough Handprint Keepsake Ornaments
Salt dough handprint ornaments are among the most sentimental homemade Christmas decorations because they capture a child’s growing hand in a lasting keepsake. The simple round shape provides a natural frame for the impression, while painted borders add festive color. Families can make a new ornament annually and enjoy comparing the handprints as children grow.
Prepare salt dough, roll it to an even thickness, and press a child’s hand gently into the surface. An adult should handle any oven baking and supervise the process throughout. Once the ornament is completely cool and dry, decorate the edges with non-toxic paint and thread a ribbon through the pre-made hole for hanging.
Pro Tip: Make a practice impression first so the final handprint has clear fingers and a visible palm.
Frequently Asked Questions About DIY Ornaments for Kids
1. What age can children start making Christmas ornaments?
Toddlers can enjoy simple ornament activities with close adult supervision, especially decorating large paper shapes with washable crayons or stickers. Preschoolers may enjoy painting and gluing pre-cut pieces, while school-age children can try more detailed designs. Choose projects based on individual abilities, and avoid small parts for children under three.
2. What supplies are best for inexpensive DIY Christmas ornaments?
Affordable supplies include construction paper, cardboard, popsicle sticks, yarn, felt scraps, washable paint, twine, and salt dough ingredients. Reusing clean packaging and leftover craft materials can reduce costs further. Before shopping, check your existing supplies and select projects that share materials, making holiday crafting more economical and convenient.
3. How can I make homemade Christmas ornaments last longer?
Allow painted ornaments to dry completely before storing or hanging them. Choose sturdy cardboard, quality felt, or properly dried salt dough, and secure hanging loops firmly. For suitable ornaments, an adult can apply a child-safe protective finish. Store finished decorations in individual compartments away from moisture, heat, and crushing.
4. Are DIY ornaments safe for young children?
Many homemade ornaments are suitable for young children when materials and techniques match their developmental stage. Use non-toxic supplies, large decorations, blunt scissors, and washable paint. Adults should handle hot glue guns, ovens, sharp tools, and small components. Keep craft materials out of children’s mouths and supervise activities throughout.
5. How should I store handmade Christmas ornaments after the holidays?
Clean and completely dry each ornament before packing it away. Wrap delicate paper designs in tissue paper, place felt decorations in a dry container, and separate heavier ornaments to prevent crushing. Label storage boxes by year or child, and keep everything in a cool, dry location until next Christmas.
Conclusion
Creating DIY Ornaments for Kids is a lovely way to celebrate the holidays while encouraging imagination, family bonding, and meaningful traditions. From colorful paper stars to personalized handprint keepsakes, these projects offer something for every little crafter. Choose a favorite idea, gather your supplies, and save this article on Pinterest for festive inspiration!