
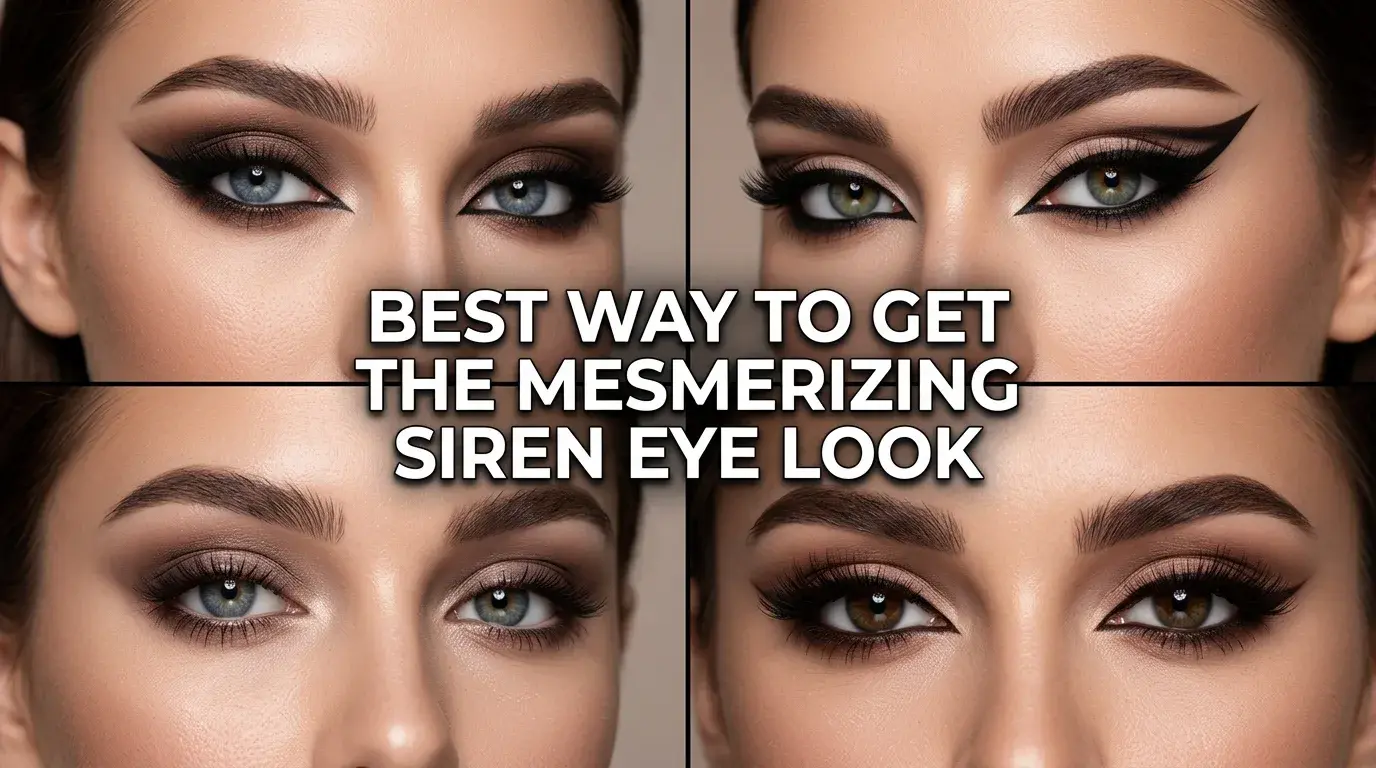
Best Way To Get The Mesmerizing Siren Eye Look
The siren eye look has become a favorite among makeup enthusiasts because it creates a captivating, elongated eye shape with a smoky, lifted finish. Unlike a traditional rounded-eye makeup style that emphasizes openness and brightness, siren eyes focus on horizontal definition, softly sculpted outer corners, and precise eyeliner. The result is sultry and sophisticated without requiring an elaborate collection of makeup products or professional-level skills.
If you have been wondering how to get siren eyes at home, this step-by-step guide will walk you through the entire process, from preparing your eyelids to applying eyeshadow, shaping your eyeliner, and finishing with mascara. You will also discover practical product recommendations, beginner-friendly blending techniques, and ways to adapt this striking makeup style to different eye shapes and occasions.
Steps & Products To Get The Mesmerizing Siren Eye Look
Creating beautiful siren eyes is all about placement, blending, and balance. Rather than covering your eyelids with dark makeup immediately, you will build depth gradually, extend the outer corners, and connect the upper and lower lash lines for a cohesive, elongated effect.
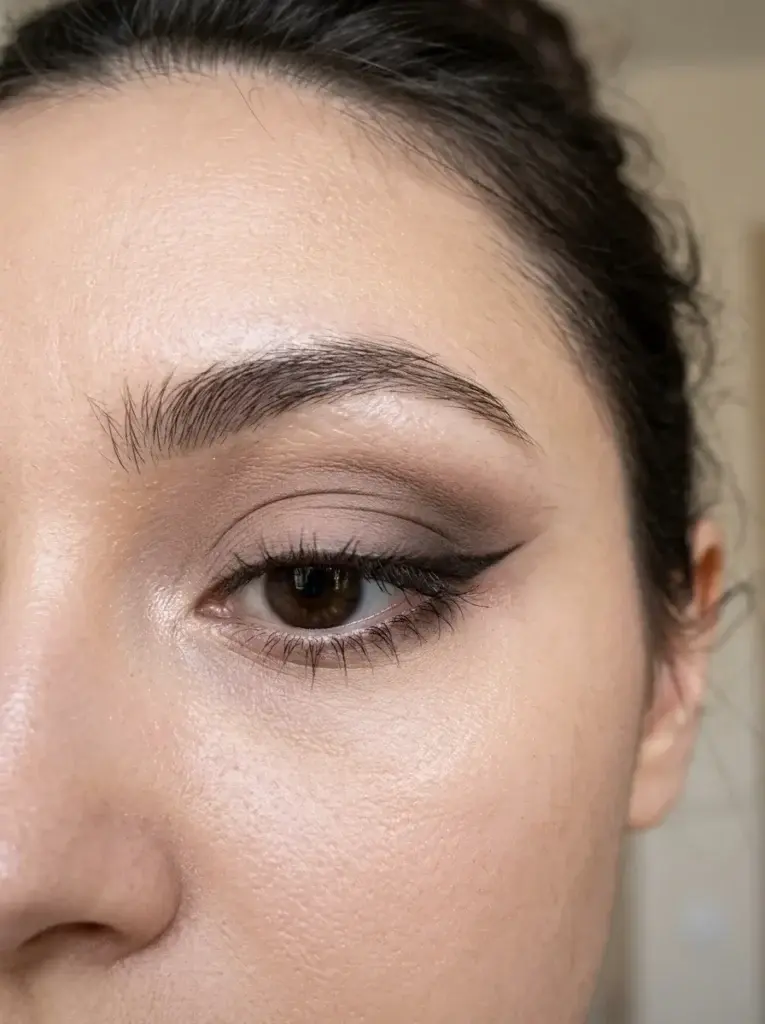
Step 1: Prep Your Eyelids for Long-Lasting Makeup
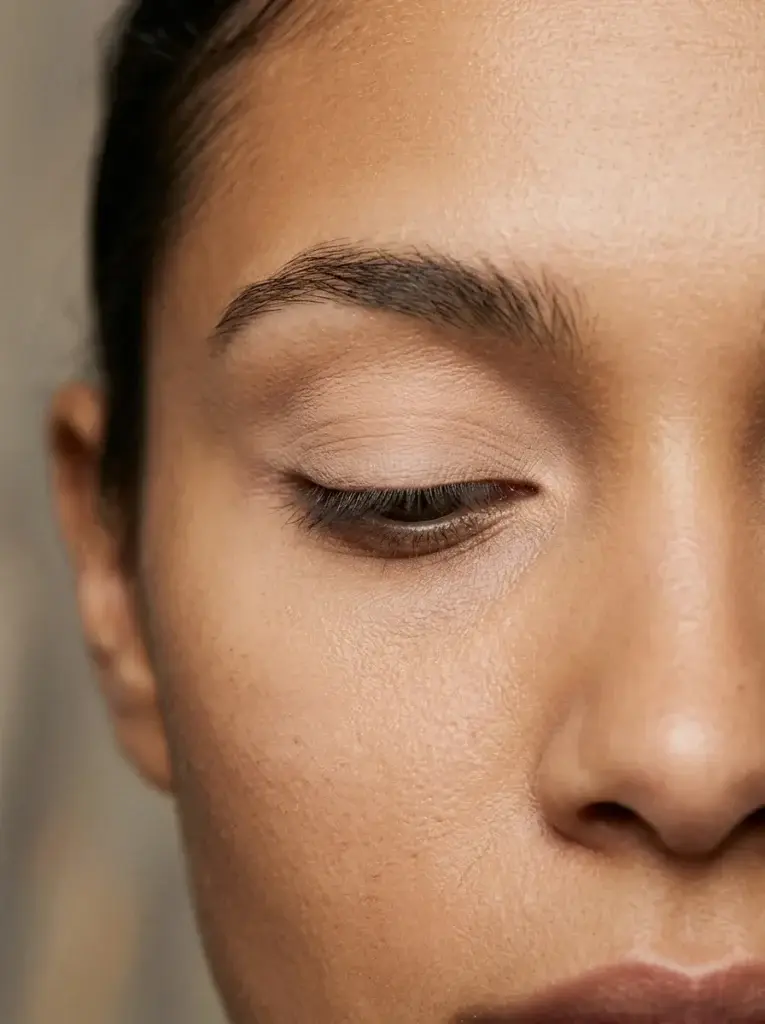
A smooth base makes it easier to blend eyeshadow evenly and helps your eyeliner look more polished. Begin with clean, dry eyelids, making sure any leftover moisturizer or skincare product has absorbed before you start applying makeup.
Apply a small amount of eye primer across the eyelid and blend it toward the crease. Primer can improve eyeshadow adhesion and help reduce creasing, particularly if your eyelids tend to become oily. If you do not have an eye primer, a small amount of suitable concealer can work as an alternative. Blend it into a thin, even layer and set it lightly with translucent powder if it remains tacky.
Avoid applying too much product. A thick or slippery base can cause eyeshadow to crease, skip, or become difficult to blend. The goal is a comfortable, even surface that allows your makeup to stay neat while you build the elongated shape.
Product recommendations:
- Eye primer: Choose a lightweight formula suited to your eyelid type. A budget-friendly option is e.l.f. Cosmetics Shadow Lock Eyelid Primer, while Urban Decay Eyeshadow Primer Potion is a premium alternative.
- Concealer: Use a thin layer of a concealer you already own if you prefer not to purchase another product.
- Translucent powder: A small amount can help set a creamy base before powder eyeshadow application.
Step 2: Create a Soft, Smoky Eyeshadow Base
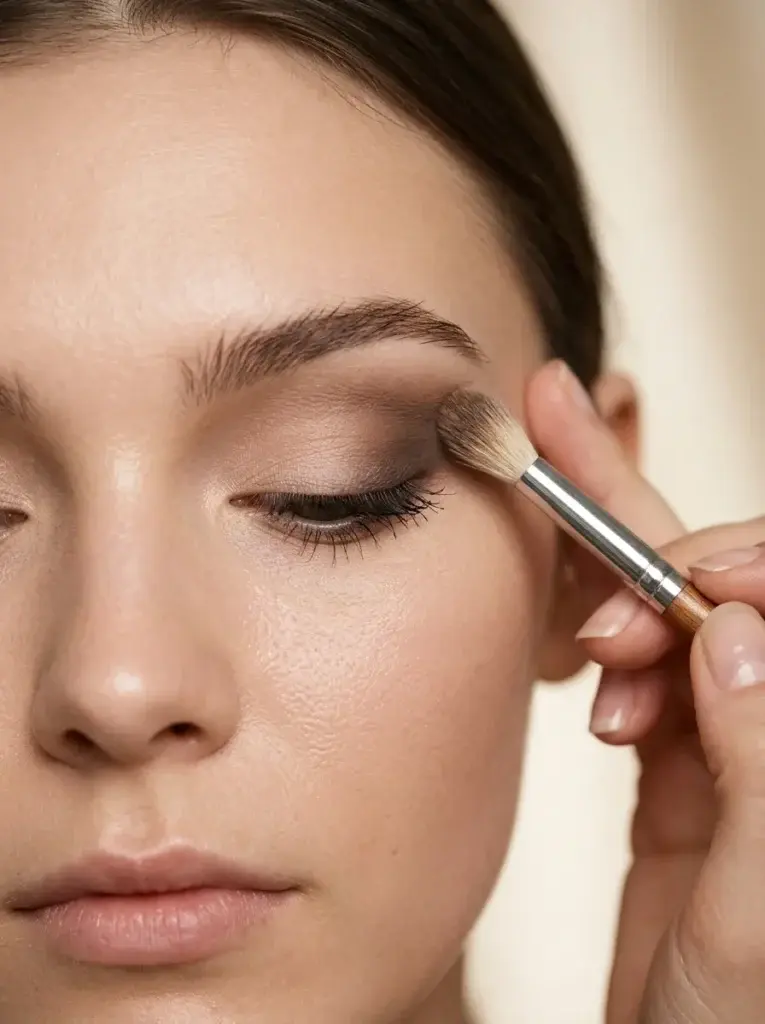
The smoky base gives siren eyes their signature depth. Begin with a matte taupe, soft brown, or muted beige shade that is slightly deeper than your natural skin tone. Using a fluffy blending brush, apply the color along the outer half of the eyelid and gently extend it toward the temple.
Keep most of the intensity near the outer corner rather than spreading dark pigment evenly across the entire lid. Blend using small, controlled movements that follow the natural angle of your eye. The shadow should look diffused rather than like a sharp stripe.
Next, choose a medium brown shade and concentrate it around the outer crease. Blend the color slightly outward to encourage a longer-looking eye shape. Leave the inner portion of the eyelid relatively light so the makeup retains dimension.
For a classic smoky siren eye look, matte shades are especially useful because they create depth without competing with the eyeliner. If you prefer a more glamorous finish, you can add a small amount of satin eyeshadow to the center of the lid, keeping the outer corners predominantly matte.
Product recommendations:
- Neutral eyeshadow palette: Morphe’s neutral palettes offer options across a range of price points, while the Natasha Denona Glam Palette is a premium choice for creating versatile neutral eye looks.
- Blending brush: A small, soft, tapered blending brush helps control the placement of color around the outer crease.
- Beginner tip: Start with a light shade and build gradually. Removing excess pigment is much easier than correcting an overly dark smoky base.
Step 3: Shape and Define the Outer Wing
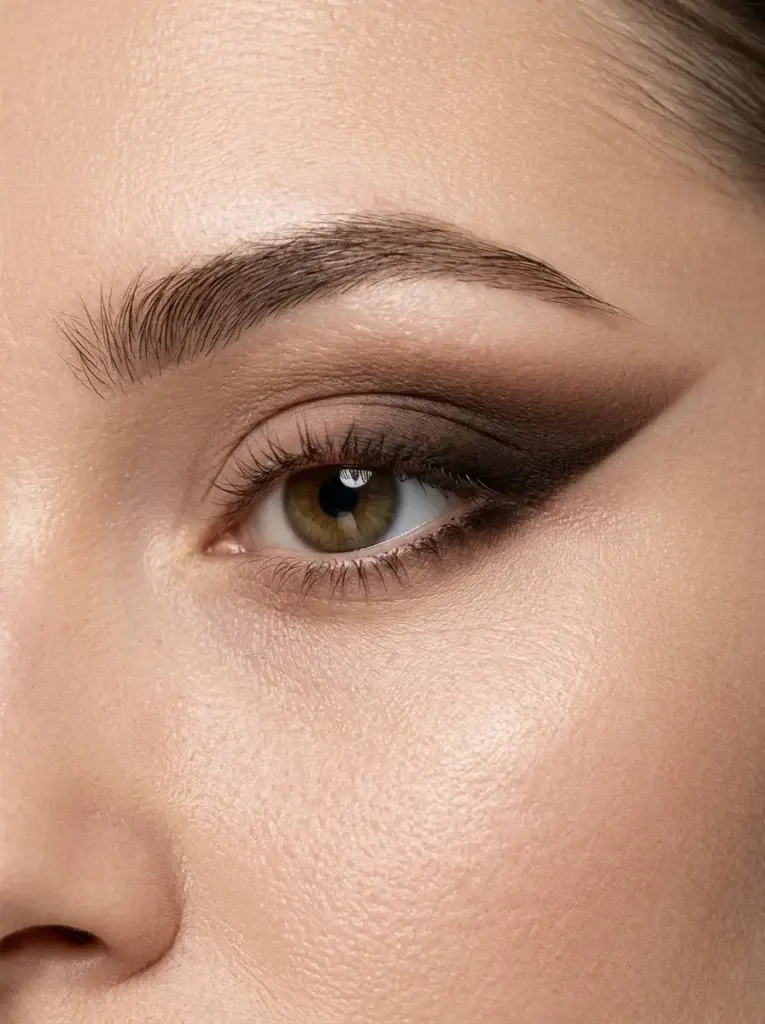
This step creates the lifted, elongated shape that distinguishes siren eyes from many other smoky eye styles. Choose a dark brown, charcoal, or deep espresso eyeshadow and apply it to the outer corner using a small pencil brush.
Imagine a gentle diagonal line extending from the outer lower lash line toward the tail of your eyebrow. Use this direction as a guide for placing the darker shadow. You do not need to draw a rigid line; instead, create a softly tapered shape that becomes narrower as it extends outward.
Blend the upper edge into the medium brown shadow from the previous step. Keep the deepest pigment close to the outer lash line and avoid blending too far upward, which can make the eye appear overly heavy.
For additional precision, use a small amount of concealer on a flat brush to clean up the lower edge if necessary. Work carefully and use minimal product so you do not remove the surrounding eyeshadow.
If you have hooded eyes, look straight into a mirror while blending. This helps you understand how the shape appears when your eyes are open, rather than relying entirely on the placement visible when your eyelids are closed.
Step 4: Sharpen the Look With Eyeliner
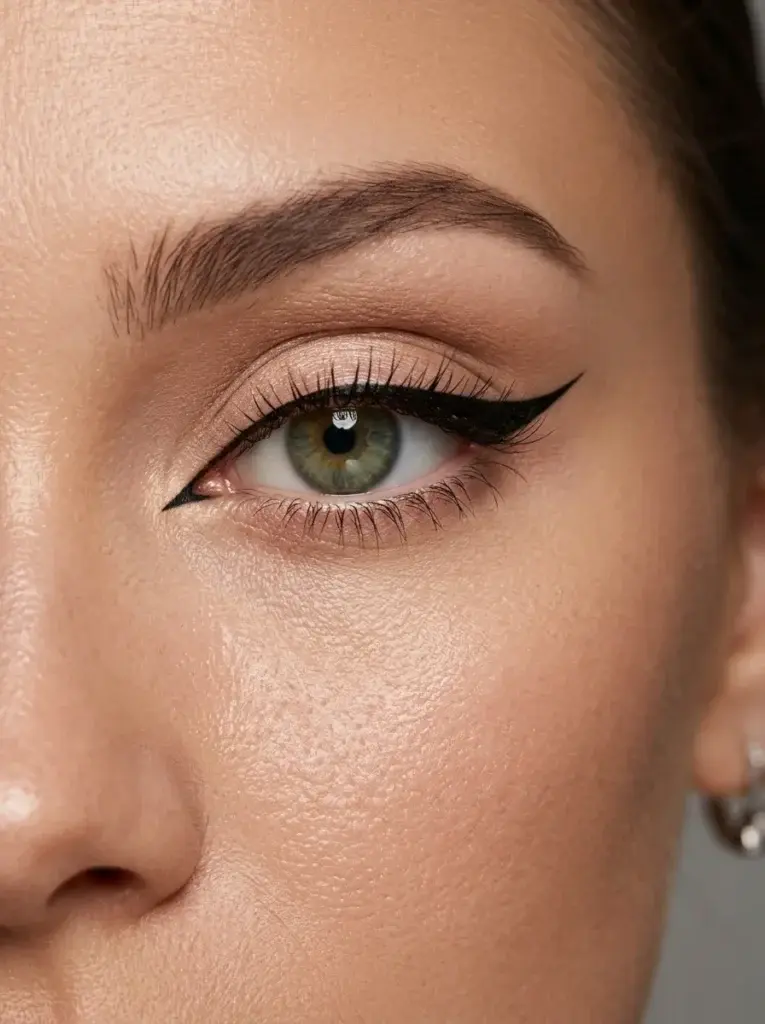
Eyeliner is the defining element of a classic siren eye makeup tutorial. It reinforces the horizontal shape created by your eyeshadow and gives the finished look a more precise, intentional appearance.
Start with a black or deep brown eyeliner and draw a thin line as close to the upper lashes as possible. Begin around the middle of the eyelid if you prefer a softer effect, then gradually increase the thickness toward the outer corner. This keeps the inner eye from becoming too heavy.
To create the wing, follow the direction established by your outer-corner eyeshadow. Draw a small line outward and slightly upward, then connect its tip to the upper lash line. Fill any gaps carefully, keeping the wing tapered rather than excessively thick.
For an additional elongated effect, you can subtly define the inner corner using a fine eyeliner pencil or brush. Follow your natural inner-corner shape and avoid forcing a sharp extension if your eye anatomy does not comfortably accommodate it. The technique should enhance your eyes, not irritate them.
Product recommendations:
- Liquid eyeliner: NYX Professional Makeup Epic Ink Liner is a budget-conscious option for creating defined wings.
- Gel eyeliner: A dark gel formula can provide control when applied with a fine angled brush.
- Pencil eyeliner: A creamy, blendable pencil is useful for a softer smoky finish, especially along the outer lash line.
If you are new to winged eyeliner, sketch the shape with eyeshadow first. You can then trace over it with your chosen liner, making small adjustments rather than attempting one long, uninterrupted stroke.
Step 5: Smoke Out the Lower Lash Line
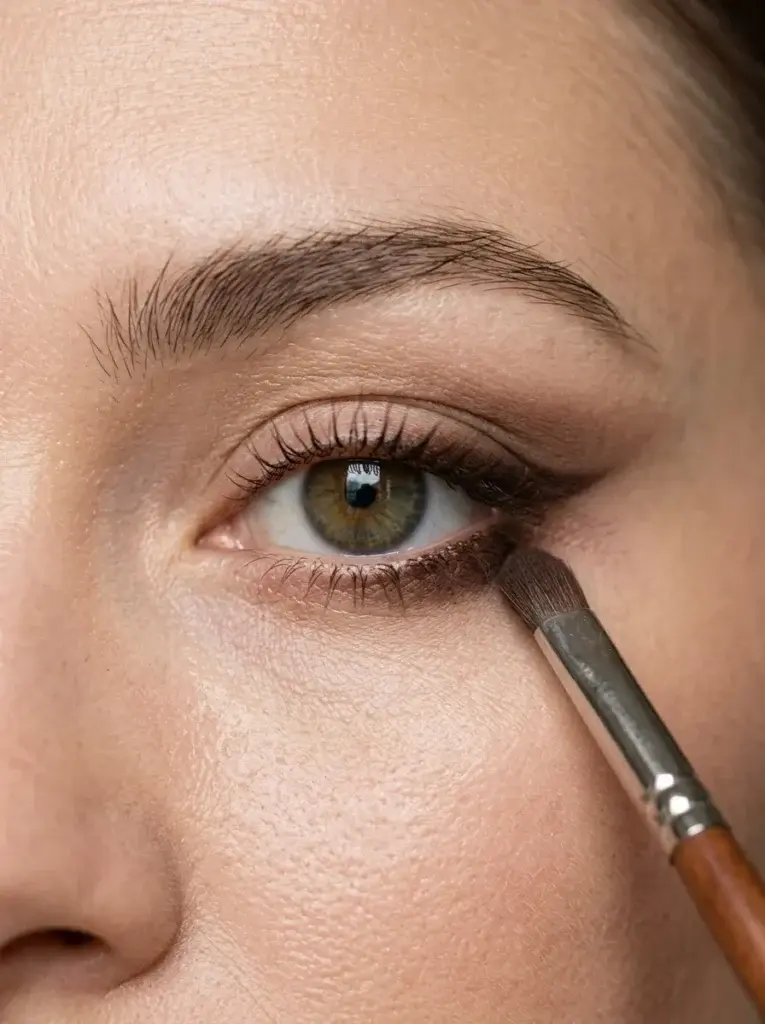
The lower lash line helps connect the upper eyeliner and outer-corner shadow, creating a more cohesive, sultry appearance. Without this detail, the upper portion of the makeup can look disconnected from the rest of the eye.
Using a small pencil brush, apply the same medium brown or deep espresso shade beneath the outer third of your lower lashes. Blend the color gently so it creates a soft shadow rather than a distinct dark line.
For a more dramatic smoky siren eye look, you can extend the shadow slightly toward the middle of the lower lash line. Keep the inner portion lighter, particularly if you want to maintain a balanced finish.
Avoid applying a large amount of dark pigment directly beneath the entire eye. Heavy lower-lash makeup can overwhelm the shape, create unwanted darkness, or make the eyes appear smaller than intended. Instead, build the intensity in thin layers and check your makeup from a normal viewing distance.
If the shadow looks too intense, use a clean brush with a little of your transition shade to soften the edges.
Step 6: Brighten and Refine the Inner Corners
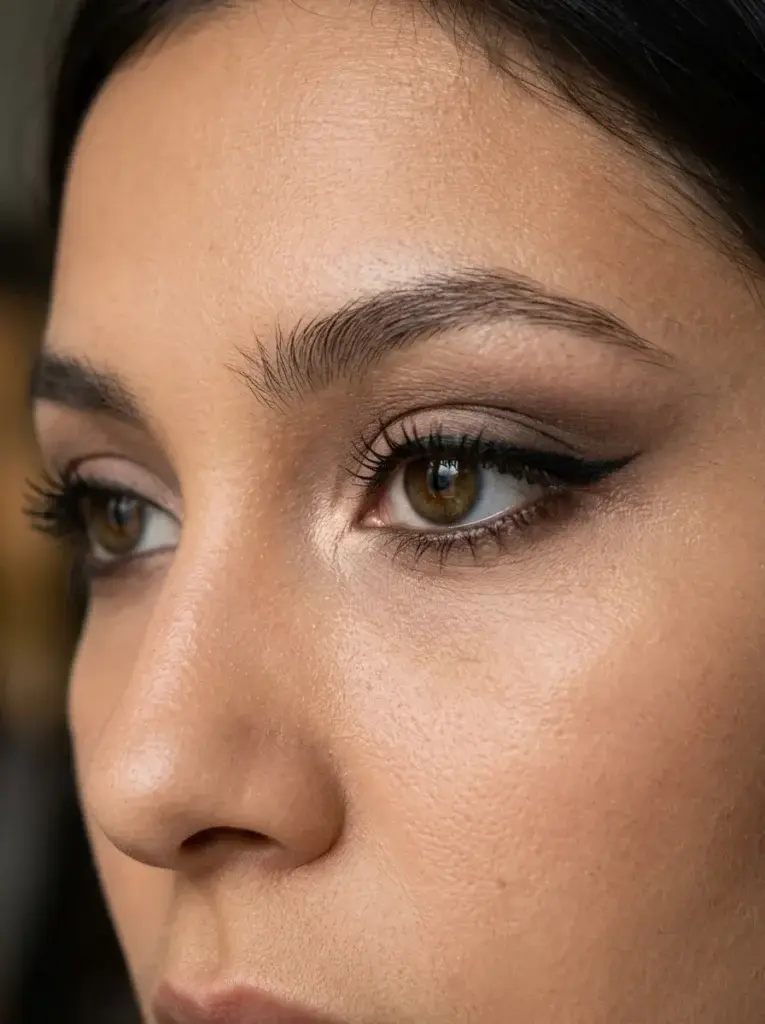
Once your smoky shadows and eyeliner are in place, refine the inner corner to balance the darker outer edge. A small amount of champagne, soft beige, or satin ivory eyeshadow can add dimension without taking attention away from the elongated shape.
Use a small detail brush to place the highlight precisely where you want it. Blend the edges lightly so the brighter shade transitions naturally into the rest of the makeup. Avoid applying a thick layer of glitter, which may make the overall look feel less cohesive.
You can also use a nude eyeliner along the waterline if you want a softer, brighter finish. A white pencil creates a more noticeable contrast, but it may look less natural with a deep, smoky eye. Choose the option that complements your desired intensity.
Keep all products intended for the waterline specifically labeled as suitable for that area, and avoid using them if they cause irritation. You do not need to brighten the inner corner or waterline for every siren eye style; a darker, more dramatic finish can work beautifully without these details.
Step 7: Finish With Mascara and False Lashes
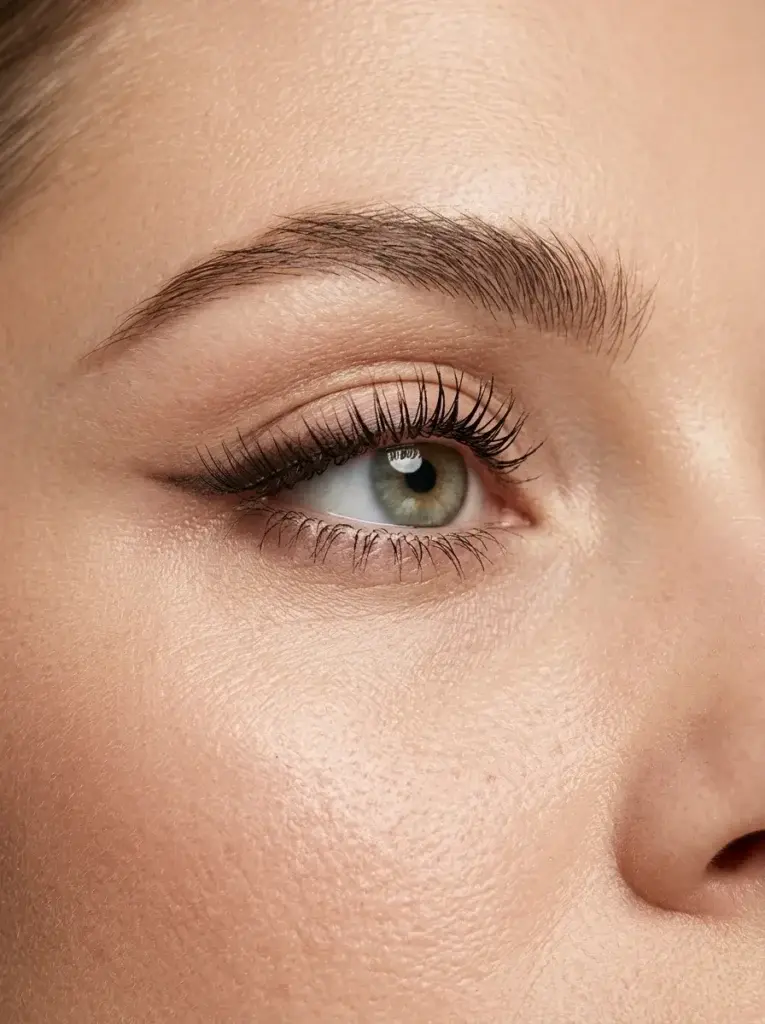
Mascara brings the entire eye look together by defining the lashes and reinforcing the lifted outer corners. Begin by curling your upper lashes gently with a clean eyelash curler, taking care not to pinch your eyelid.
Apply one coat of lengthening mascara from the roots toward the tips, using small movements to separate the lashes. Add another thin coat if needed, concentrating on the outer lashes to complement the direction of your eyeliner.
For extra drama, consider half-lashes or individual lashes placed along the outer portion of the lash line. These can enhance the elongated appearance without creating too much volume in the inner corner. Choose a style that follows your natural eye shape instead of forcing a heavily rounded effect.
If you prefer a more understated result, skip false lashes and use mascara alone. The siren eye look relies on the overall shape and placement of the makeup, so dramatic lashes are optional rather than essential.
Product recommendations:
- Mascara: Maybelline Lash Sensational Sky High is a widely available option to consider for length-focused lashes.
- False lashes: Look for lightweight half-lashes or individual clusters designed for the outer corner.
- Lash adhesive: Use an adhesive specifically intended for false eyelashes, follow its directions, and keep it away from the eye itself.
Remove eye makeup gently at the end of the day rather than pulling at your lashes. Proper removal helps reduce unnecessary friction around the delicate eye area.
Bonus: Complete Your Look With Brows and Face Makeup
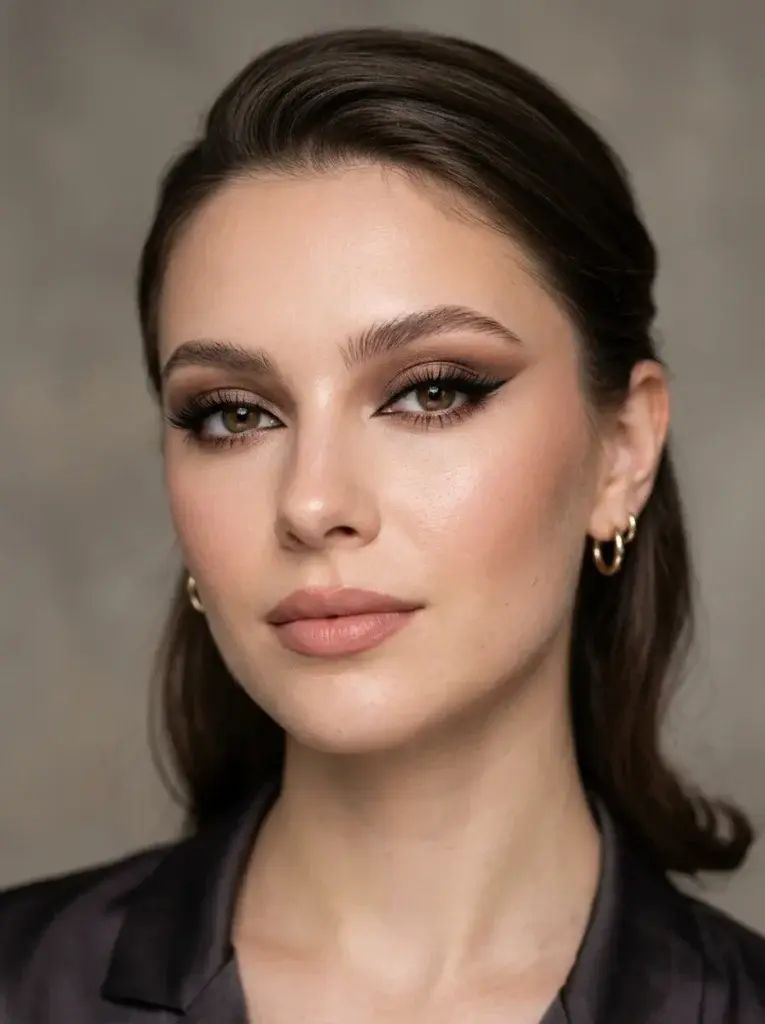
Although the eyes are the main attraction, the rest of your makeup can help create a polished, balanced finish. Brush your eyebrows into place and fill any sparse areas with a pencil or powder using light, hair-like strokes. A softly defined brow complements the lifted eye shape without competing with the eyeliner.
For complexion makeup, choose a foundation or skin tint that suits your skin type and preferred coverage. A little concealer can brighten areas where needed, while subtle contour or bronzer adds dimension around the cheekbones. You do not need heavy sculpting; the eye makeup should remain the focal point.
Lip color also influences the overall effect. Nude pink, beige, muted rose, and soft brown shades pair naturally with smoky siren eyes. For evening occasions, a deeper berry or brown-toned lip can create a more dramatic finish, although keeping the lips understated is an easy way to make the eyes stand out.
Finish with the setting products appropriate for your skin type. If you use setting spray, apply it according to its instructions and allow your makeup to settle before checking the final result in natural light.
Tips for Getting the Perfect Siren Eye Look
A beautiful siren eye look does not depend on having perfectly symmetrical eyes or expensive makeup. Small adjustments to your brush placement, eyeliner angle, and eyeshadow intensity can make a noticeable difference. These techniques will help you create a polished finish while making the process easier for beginners.
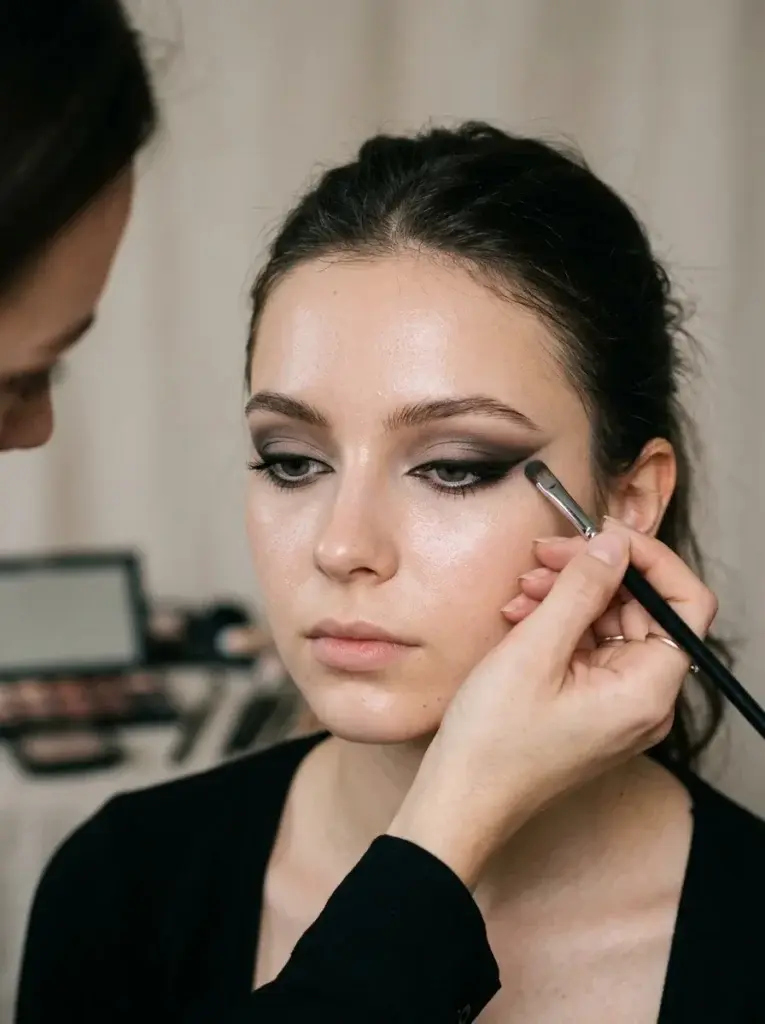
Build your eyeliner gradually. Instead of drawing a thick wing immediately, begin with a thin line and extend it in small strokes. Step back from the mirror occasionally to check the overall shape. This helps you avoid creating a wing that looks attractive close up but feels too heavy from a normal viewing distance.
Keep both eyes balanced. Your eyes may naturally differ slightly in shape, so perfectly identical wings are not always realistic. Apply eyeliner to both eyes in alternating stages, checking their angles before adding more thickness. If one wing appears lower, adjust the outer edge with a small amount of concealer or a cotton swab.
Blend outward rather than upward. Siren eyes emphasize horizontal length. Directing too much eyeshadow toward the brow can produce a rounded, lifted smoky eye instead. Blend the outer corner diagonally toward the temple, keeping the darkest color near the lash line.
Adapt the technique for hooded eyes. If your eyelid crease partially covers your makeup when your eyes are open, use a mirror positioned directly in front of you. Keep your eyes relaxed while checking the wing. You may need to place a little definition slightly above the natural crease so the shape remains visible, but avoid drawing an unnecessarily thick line across the entire lid.
Choose shades that complement your coloring. Espresso and charcoal create a dramatic finish, while soft taupe and medium brown provide a gentler effect. Deep plum, olive, and bronze can also create beautiful variations without changing the basic technique.
Prevent smudging. Use an appropriate eye primer, allow creamy products to settle, and apply powder shadow over pencil liner when you want a softer, more diffused finish. If your eyelids are oily, keep heavy creams away from the immediate lash line.
Finally, remember that you do not need to use every technique at once. A thin wing, two complementary eyeshadow shades, and mascara can be enough to create a recognizable siren-inspired shape.
Common Mistakes to Avoid When Creating Siren Eyes
Even a relatively simple makeup look can become difficult when the placement is slightly off. Recognizing common mistakes will help you correct problems early instead of starting your entire makeup routine again.
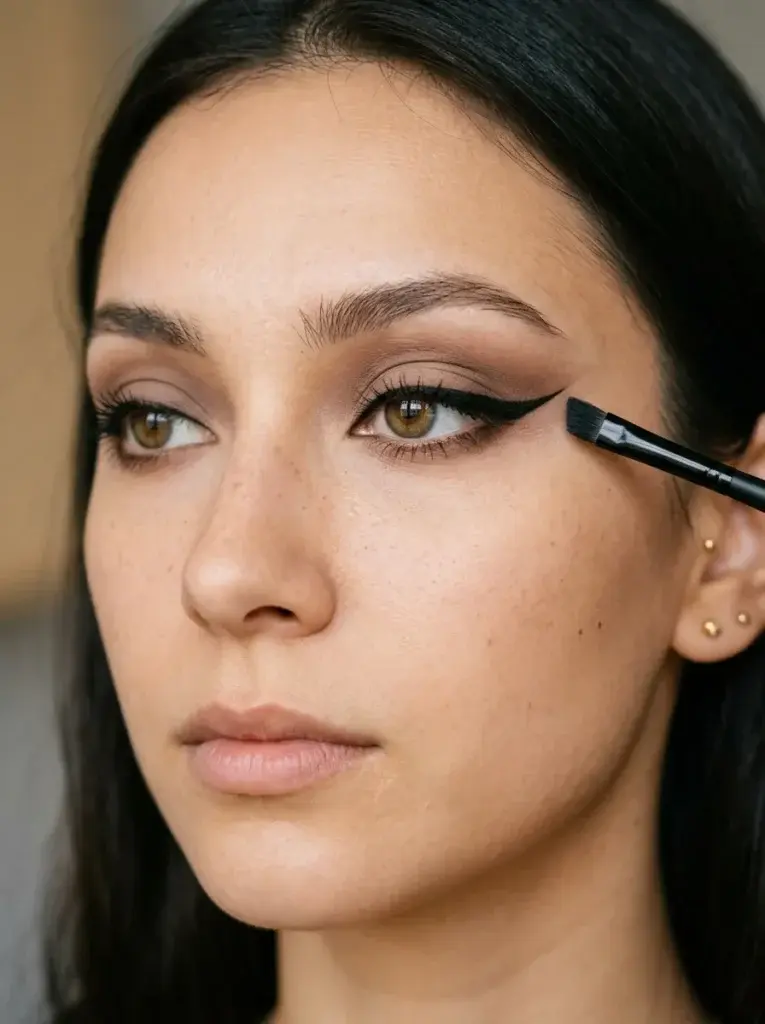
- Applying too much dark eyeshadow at once: Heavy pigment can be difficult to blend and may overwhelm the eye. Start with a medium transition shade, add dark brown in small amounts, and increase the intensity only when needed.
- Drawing uneven eyeliner wings: One wing may appear longer or steeper than the other. Before filling in the liner, mark the intended endpoints with a small amount of eyeshadow. Compare both sides while looking straight ahead.
- Blending in the wrong direction: Blending the outer shadow too far upward can create a rounded appearance. Use short strokes directed outward toward the temple to maintain the elongated shape.
- Overloading the lower lash line: Thick, dark shadow beneath the entire eye can make the makeup look unbalanced. Concentrate the deepest shade beneath the outer third and soften it with a transition color.
- Using unsuitable brushes: A large fluffy brush may spread dark pigment too widely, while a stiff, oversized brush can leave harsh edges. Choose a small pencil brush for detail and a clean, fluffy brush for blending.
- Making the eyeliner too thick: A broad black line can hide the eyeshadow and cover much of the visible lid, especially on hooded eyes. Begin thinly and increase the thickness only toward the outer corner.
- Adding too many competing highlights: Heavy shimmer, bright inner-corner color, and thick lower eyeliner can compete with the main shape. Choose one or two finishing details that complement the overall makeup.
- Rubbing away mistakes: Wiping an uneven wing can remove foundation and eyeshadow around it. Instead, use a pointed cotton swab or small brush with a little suitable makeup remover, then carefully restore any disturbed concealer.
Product selection also matters. Use cosmetics intended for the eye area, keep applicators clean, and stop using any product that causes irritation. The U.S. Food and Drug Administration provides additional guidance in its official eye cosmetic safety recommendations.
How to Adapt Siren Eye Makeup for Different Occasions
One of the best features of siren eyes is their versatility. You can make the look soft enough for everyday wear or intensify the shadows and lashes for a special occasion. The essential technique remains the same; the difference lies in how much depth, definition, and contrast you introduce.
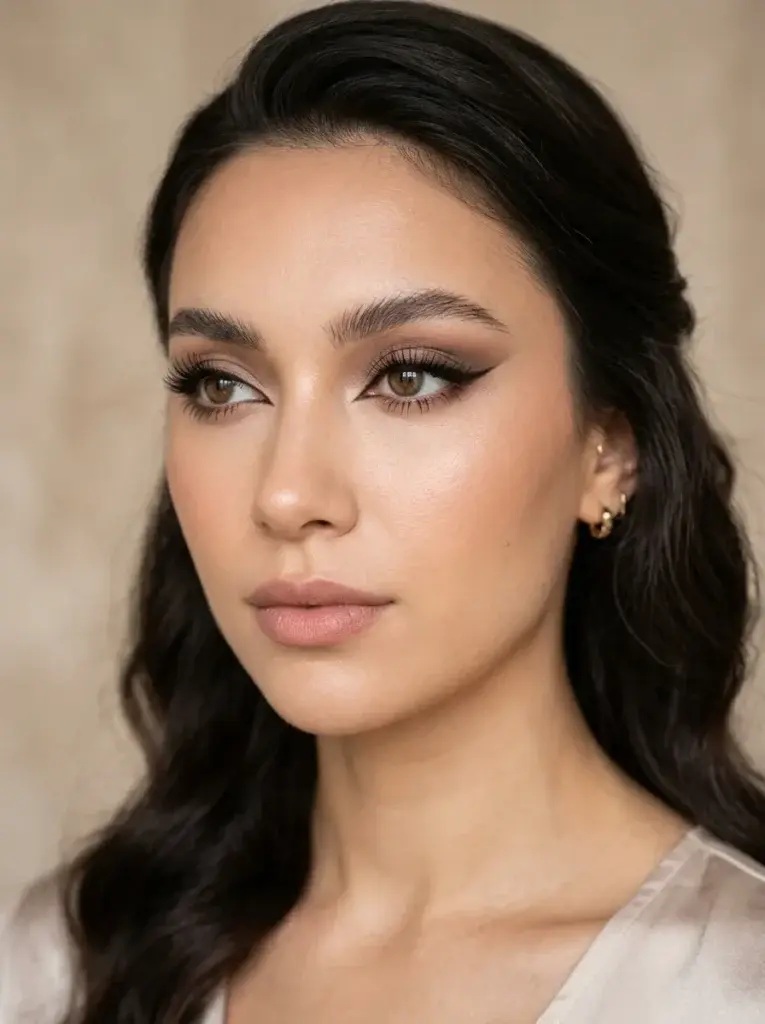
Soft Daytime Siren Eyes
For daytime wear, use beige, taupe, and light brown eyeshadows to create subtle depth around the outer corners. Choose a thin brown eyeliner wing and keep the lower lash line softly defined rather than heavily smoked.
One coat of mascara is usually enough to complete the look. Pair the eye makeup with a light complexion base, softly groomed brows, and a nude or pink lip color. The result is polished without looking overly dramatic.
Everyday Siren Eye Makeup
For a more defined everyday version, use medium brown eyeshadow across the outer crease and deepen the outer corner with espresso. Apply a black or dark brown pencil close to the upper lashes, then gently extend it into a small wing.
You can add a little matching shadow beneath the outer lower lashes for definition. Keep the inner corner relatively natural and choose a comfortable mascara that separates the lashes without excessive volume.
This version works well when you want the distinctive elongated eyeliner look without committing to a full smoky eye.
Dramatic Evening or Party Siren Eyes
For an evening look, intensify the outer corner with charcoal, deep espresso, or black eyeshadow. Use a more defined liquid eyeliner wing and connect it carefully to the smoky shadow. You can extend the lower lash-line shading slightly farther inward while maintaining a clean, blended edge.
Half-lashes or individual lashes can add extra emphasis to the outer corners. A subtle champagne highlight or satin lid shade can introduce dimension without overpowering the darker colors.
Finish with a softly sculpted complexion and a nude-brown or muted berry lip, depending on your preferred style. If you want the eyes to remain the focal point, keep the other makeup elements relatively understated.
Siren Eyes for Hooded Eyes and Different Eye Shapes
For hooded eyes, prioritize a wing that remains visible when your eyes are open. Use thin eyeliner along the inner and middle lash line, increasing the thickness only where your lid shape allows. Keep the smoky shadow controlled so it does not disappear into the crease.
For round eyes, emphasize the outer third of the upper and lower lash lines to create more horizontal definition. For naturally almond-shaped eyes, follow the existing eye contour and extend the outer corner subtly. If your eyes are downturned, a carefully angled wing can create a lifted visual effect without requiring a heavy layer of dark shadow.
The most flattering result comes from adapting the placement to your natural features rather than trying to reproduce an identical shape on every eye.
Final Thoughts on the Mesmerizing Siren Eye Look
The best way to achieve a mesmerizing siren eye look is to build the makeup gradually, starting with a smooth eyelid base before blending neutral eyeshadow, deepening the outer corners, and creating an elongated eyeliner wing. Softly defining the lower lash line, refining the inner corners, and finishing with mascara will bring the look together without making it unnecessarily complicated. Begin with lighter shades and a subtle wing while you practice, then experiment with deeper colors, different eyeliner angles, and optional false lashes as your confidence grows. Whether you prefer understated daytime makeup or a dramatic smoky finish, the key is to work with your natural eye shape and personalize each step until you find a siren eye style that feels beautiful, comfortable, and uniquely yours.